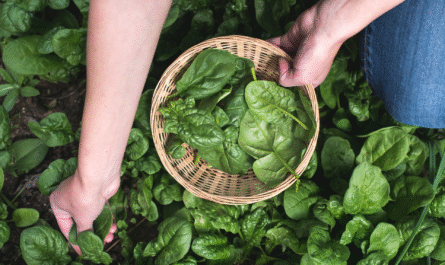
As someone who’s spent years growing everything from vegetables to flowering perennials, I’ve come to appreciate just how critical phosphorus is for healthy plant development.
It’s not as immediately visible as nitrogen (which gives you that lush, green growth) or potassium (which toughens up plants), but without enough phosphorus, everything slows down.
Growth is sluggish. Root development stalls. Flowers are fewer. Yields suffer. The good news? Adding phosphorus isn’t hard, once you understand how it works and the right way to apply it.
Why Phosphorus Matters
Phosphorus is one of the three macronutrients essential for plant life, and it plays a central role in root growth, flowering, fruiting, and overall energy transfer within the plant.
You can think of it as the engine behind your plant’s development. Every time a plant cell divides or a root tip pushes deeper into the soil, phosphorus is at work. It’s also heavily involved in photosynthesis and the storage and transfer of energy through ATP (adenosine triphosphate).
What makes phosphorus tricky is its mobility, or lack thereof, in the soil. Unlike nitrogen, which can leach away easily, phosphorus tends to bind tightly to soil particles. This means even if your soil technically contains phosphorus, your plants might not be able to access it. That’s where soil biology comes into play: microbes and fungi like mycorrhizae help release phosphorus from organic and mineral sources, making it available to roots.
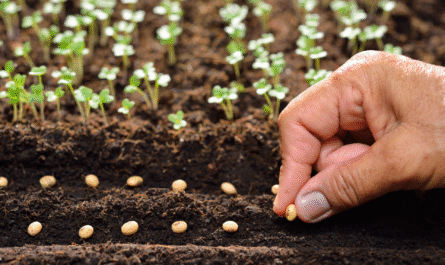
The first step I always recommend is a soil test. Without knowing your starting point, you risk applying the wrong amendments. You can get a lab-based soil test or use a DIY kit for a rough estimate. Look at the phosphorus (P) levels, and pay attention to your soil pH too, because pH strongly affects phosphorus availability. Ideally, your soil should be slightly acidic to neutral (around 6.0–7.0) to maximize phosphorus uptake.
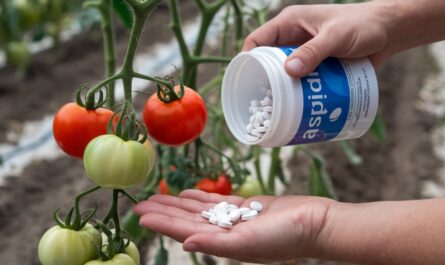
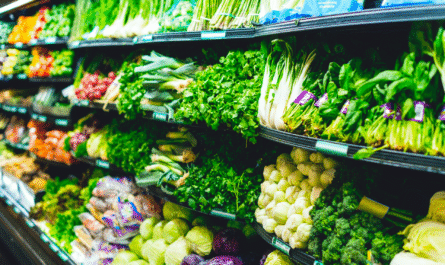
Choosing the Right Commercial Fertilizer
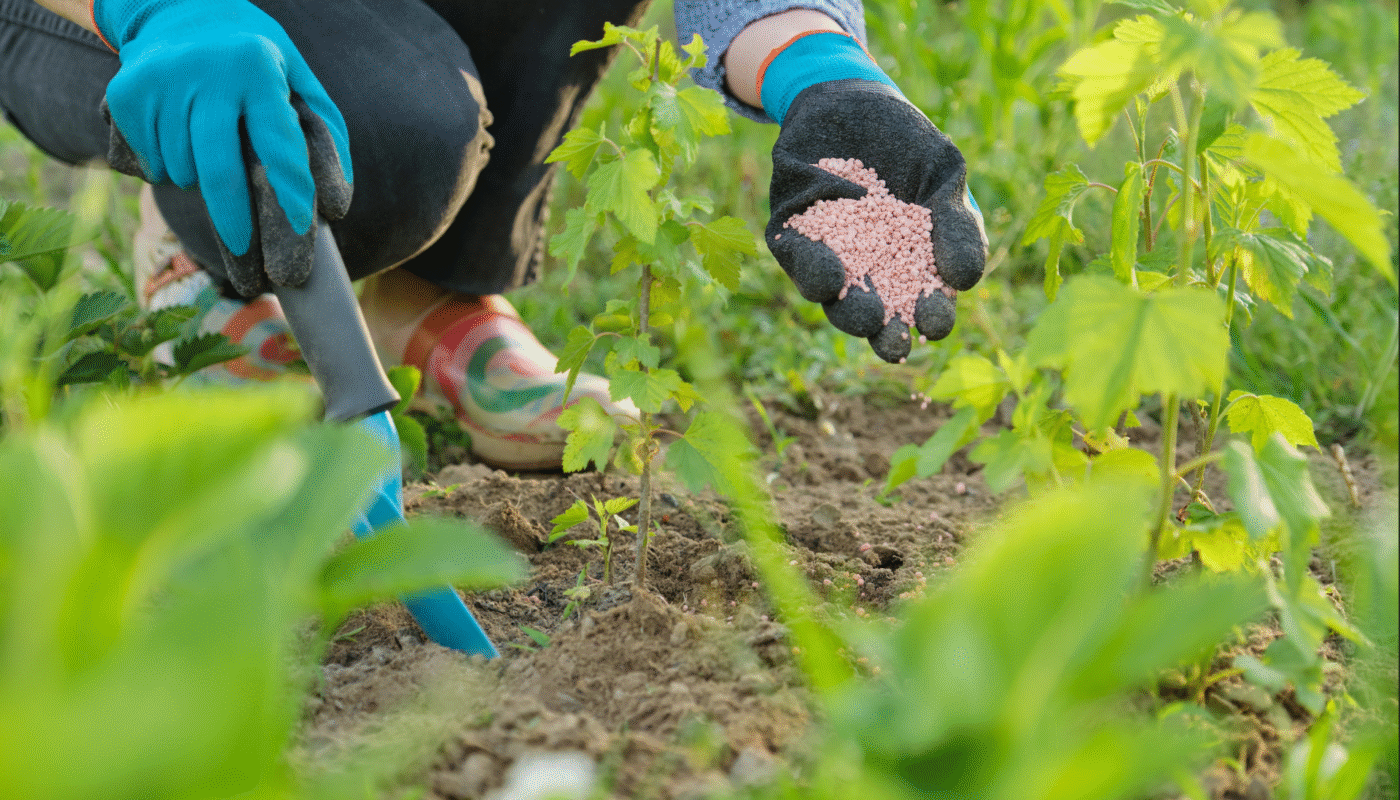
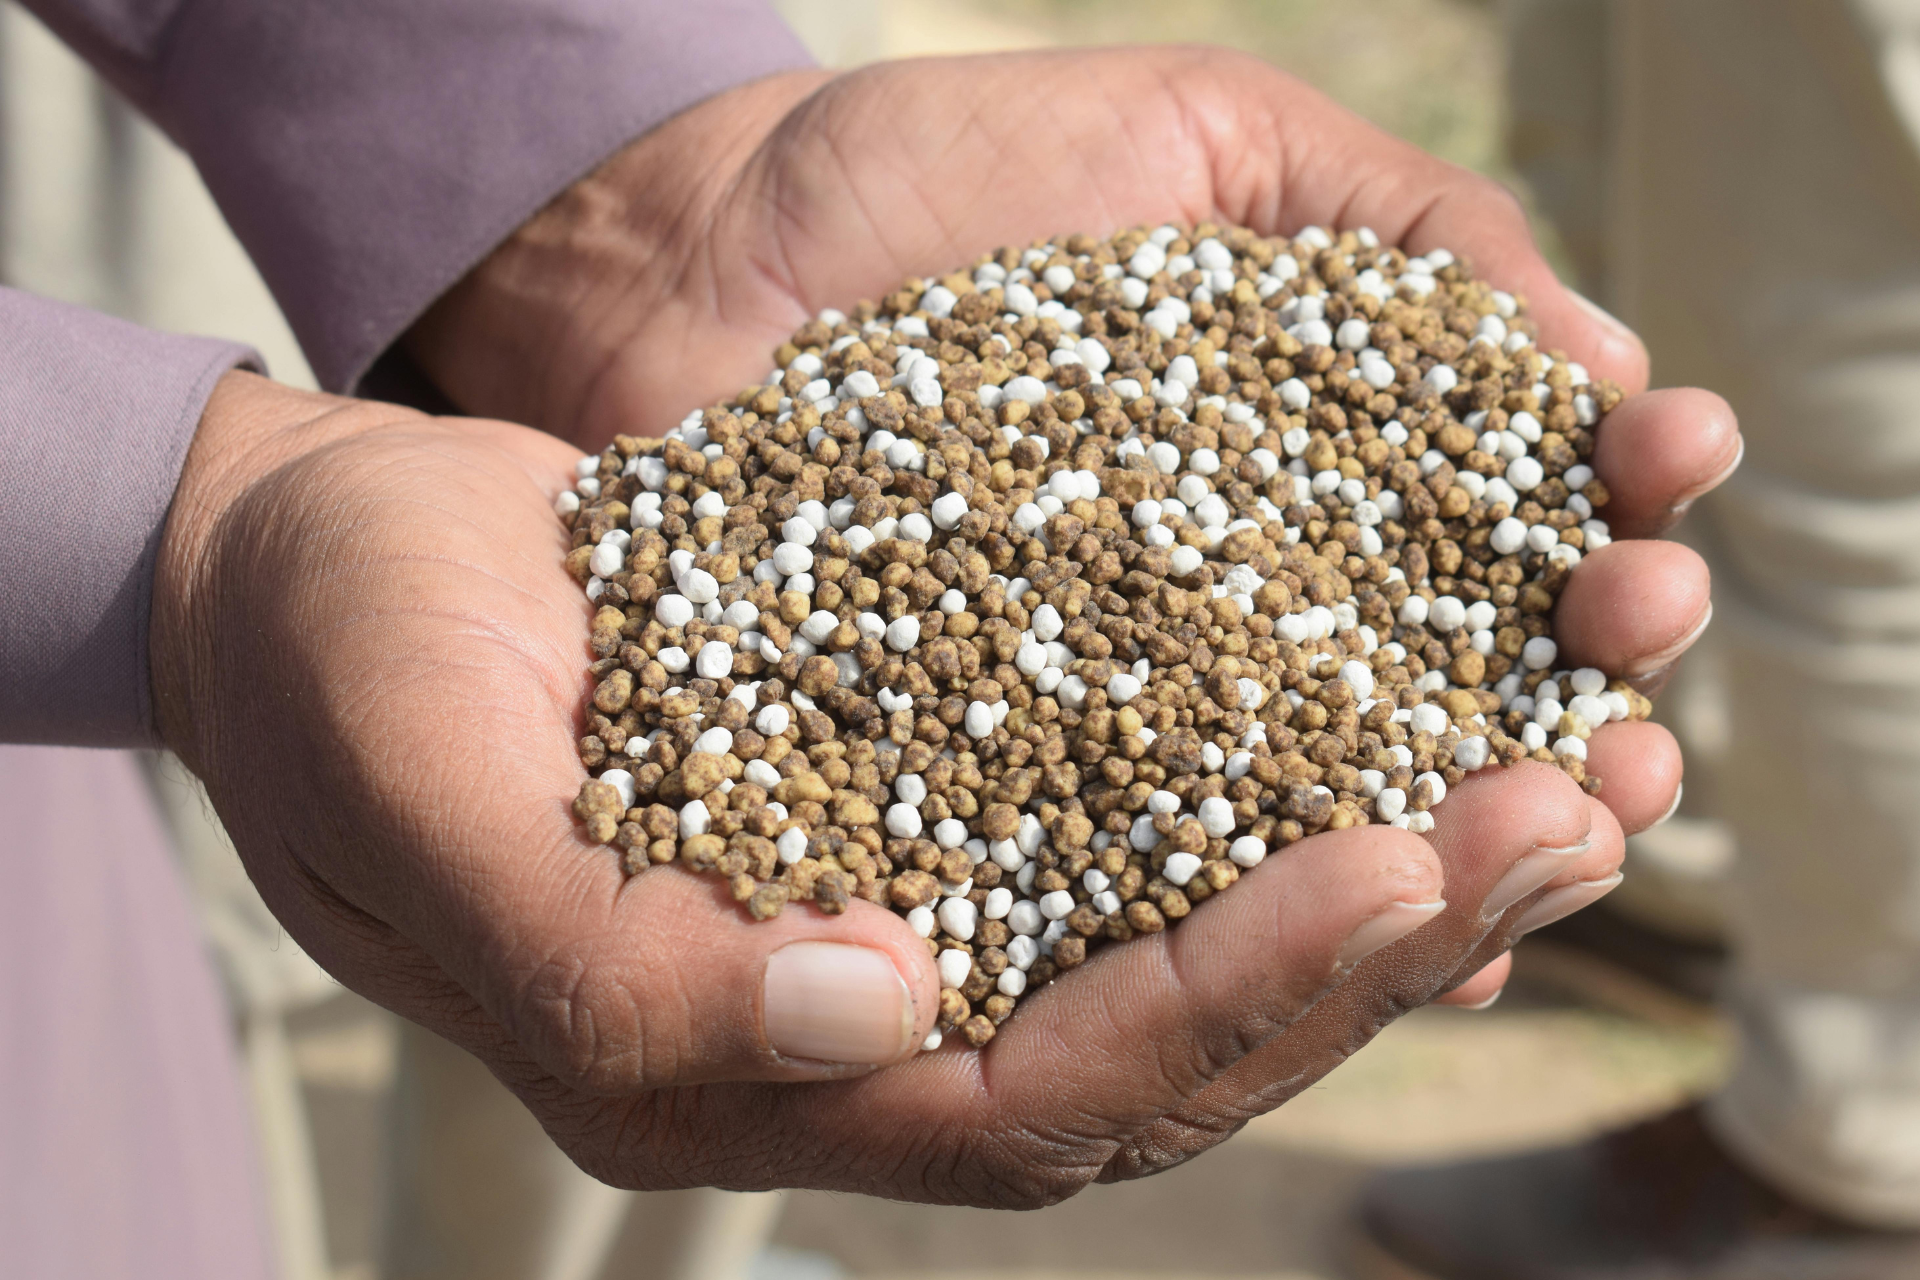
When phosphorus levels are low, a balanced approach is key. I often turn to commercial fertilizers that list their nutrient ratios as N-P-K (Nitrogen-Phosphorus-Potassium). If your soil test shows low phosphorus, choose a fertilizer with a higher middle number, like a 10-20-10 or 15-30-15. That middle number is your phosphorus content.
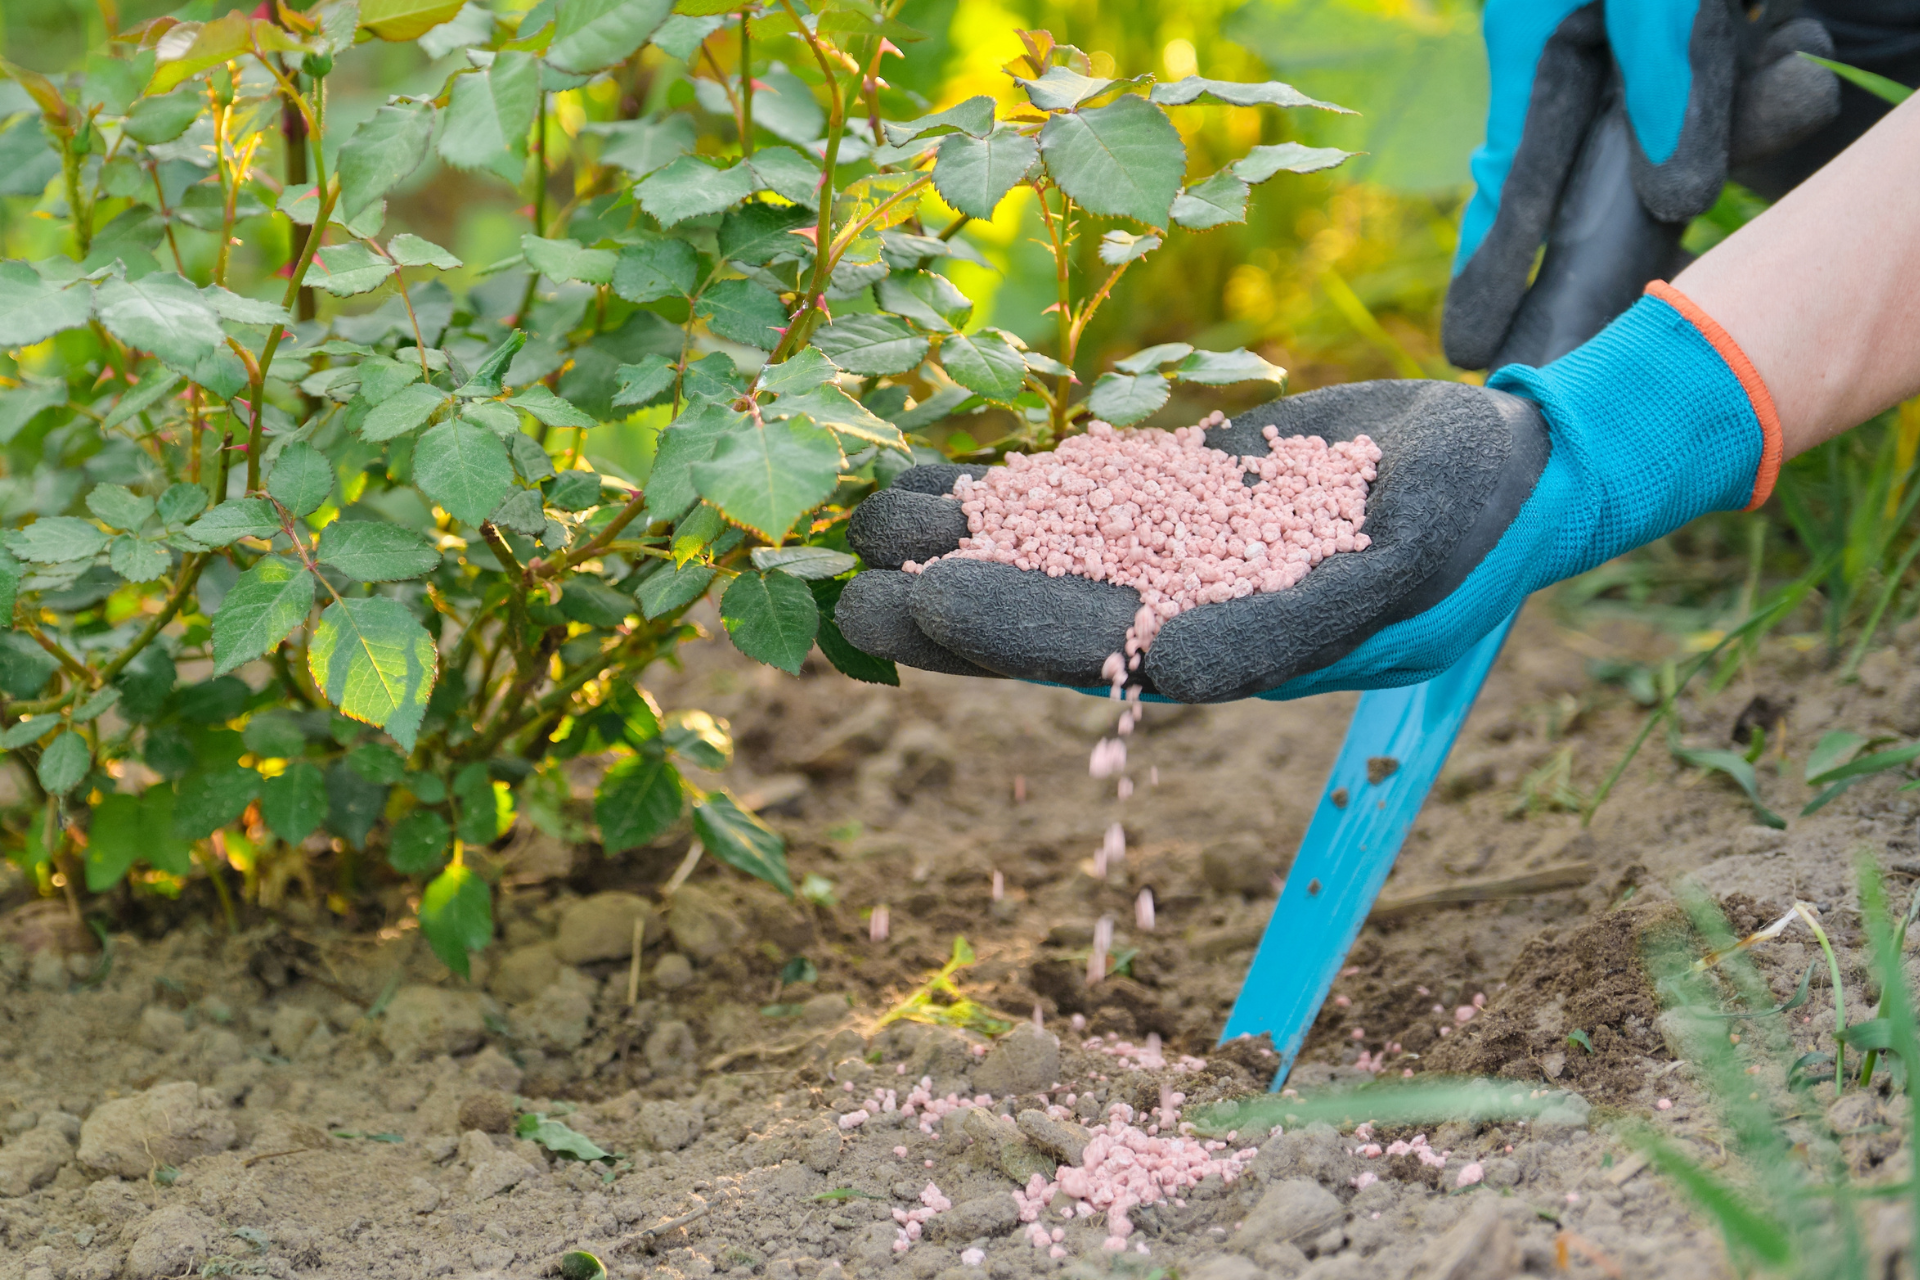
However, I don’t just throw fertilizer around and hope for the best. Timing and placement matter. I side-dress around plants or incorporate phosphorus fertilizers into the soil before planting. Phosphorus doesn’t move easily through the soil, so putting it near the root zone is essential. If you’re working with established plants, apply it in a ring around the drip line and water it in thoroughly.
One thing I stress to gardeners is not to overdo it. Excess phosphorus won’t necessarily help your plants grow faster, but it can create imbalances in your soil, particularly by locking out micronutrients like iron and zinc. So always match your fertilizer strategy to what your plants actually need, based on your soil data.
Also Read: If You Have Bubble Wrap Sheets, Don’t Pop Them: Gardeners Say They’re a Treasure
Incorporating Animal Manure Compost
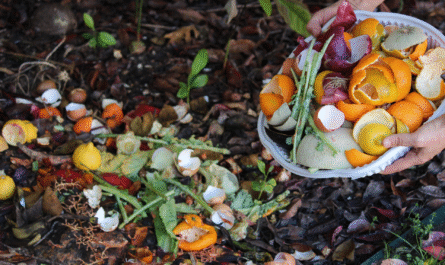
If you’re aiming for a more natural approach, composted animal manure is one of the best phosphorus sources you can add to your garden. I’ve used both chicken and cow manure with great success, and I can say from experience: composted is non-negotiable. Fresh manure is too hot; it can burn roots, introduce pathogens, and overload the soil with nitrogen.

When properly composted, chicken manure is particularly high in phosphorus. I like to spread it across the garden bed in the fall or early spring and let it settle into the soil before planting. It not only boosts phosphorus levels but also enriches your soil structure and microbial life.
One key advantage of using animal manure is its slow-release nature. It keeps feeding the soil over time, unlike synthetic fertilizers that can leach or lose effectiveness quickly. Just make sure you’re sourcing clean manure, free of contaminants or antibiotic residues—and always allow it several months to break down before planting.
Working with Rock Phosphate for Long-Term Gains
Rock phosphate is a mineral-based amendment that I often use when I want to build long-term phosphorus reserves in the soil. It’s not fast-acting, which makes it perfect for perennial beds, fruit trees, and deep-rooted crops where you’re playing the long game. This naturally occurring mineral is ground into a powder and contains a high concentration of phosphorus.
The trick with rock phosphate is to apply it early. Since it releases slowly, I usually add it during bed preparation, either before planting or when turning over soil at the end of the season. Mix it thoroughly into the top 6–8 inches so that it’s accessible to root systems and soil microbes that will slowly break it down.
Keep in mind that rock phosphate works best in acidic soils. If your pH is on the alkaline side, its effectiveness drops significantly. So again, check your soil pH and amend it if necessary before applying. I’ve seen gardeners make the mistake of treating all organic fertilizers the same, but rock phosphate has a very specific role, and it shines when used with intention.
Applying Fish Emulsion for a Fast Boost
When plants look like they need a phosphorus kick right now, I reach for fish emulsion. It’s a liquid fertilizer made from fish waste that’s rich in nitrogen and phosphorus, and it works fast. I’ve used it to save struggling seedlings, perk up flowering plants mid-season, and give a quick nutritional boost to container gardens.

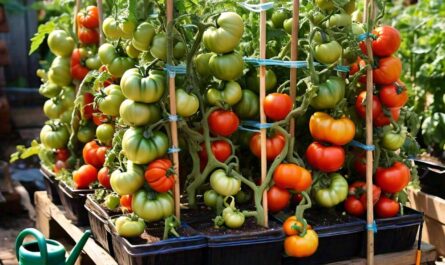
What I like about fish emulsion is how easy it is to use. Just dilute it in water according to the label instructions, and pour it directly at the base of your plants. It gets absorbed quickly and doesn’t require digging or waiting. That makes it perfect for situations where time matters, like reviving tired tomato plants or pushing a second flush of blooms.
There is one downside: the smell. It’s strong, and animals might be drawn to it. I once had a raccoon dig up half a bed looking for the “fish.” Now I apply it early in the day and keep an eye out for any unwelcome visitors. But the growth response? Almost always worth the trouble.
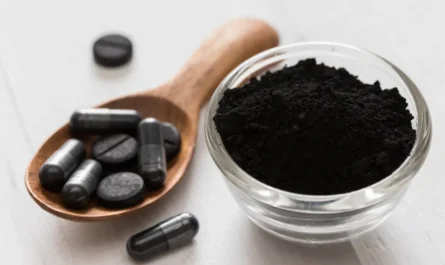
Using Bone Meal for Root and Flower Development
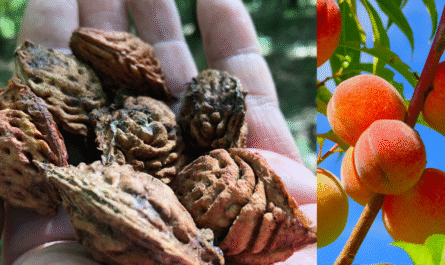
Bone meal is another favorite of mine for adding phosphorus, especially when I’m planting root crops like carrots, beets, or onions. It’s made from ground animal bones and also contains calcium, which helps strengthen cell walls and prevent blossom-end rot in fruits like tomatoes and peppers.
Bone meal is a slow-release fertilizer, so I like to incorporate it into the soil before planting. I usually sprinkle it into seed trenches or mix it into the planting hole when transplanting. That way, the nutrients are right where the roots need them, and they become available over time as the plant grows.
It’s especially effective in cooler soils, where microbial activity is slower and other sources of phosphorus might not release quickly. One word of caution: don’t use bone meal in alkaline soils, where phosphorus can get locked up. If your soil is already high in calcium, you might be better off with another phosphorus source.
Final Thoughts
Adding phosphorus to your soil isn’t just about pouring in more nutrients, it’s about creating the right conditions for your plants to thrive. I always start with a soil test, match the amendment to the plant’s needs, and monitor how things respond. Some amendments work fast, others slow, and many improve the soil in other ways too.

Over time, I’ve learned that healthy, fast-growing plants come from balanced soil biology, not just the right NPK numbers. Microbes, mycorrhizae, compost, and crop rotation all play roles in how phosphorus becomes available. It’s not about treating symptoms—it’s about building a soil system that works naturally.
So whether you’re growing vegetables for your family, flowers for beauty, or fruit trees for years to come, take the time to understand what your soil needs, and give it the right kind of help. Your plants will thank you with stronger roots, more blooms, and bigger harvests.