Growing sweet corn in your home garden is one of the most rewarding things you can do as a gardener.
There’s nothing quite like harvesting plump, golden ears of corn and biting into their crisp, sweet kernels just minutes after picking. But to get that perfect harvest, timing and method matter.
In this comprehensive guide, we’ll walk through everything you need to know to successfully grow sweet corn, from choosing varieties and preparing the soil to pest control and post-harvest storage. Let’s get started.
What is Sweet Corn?
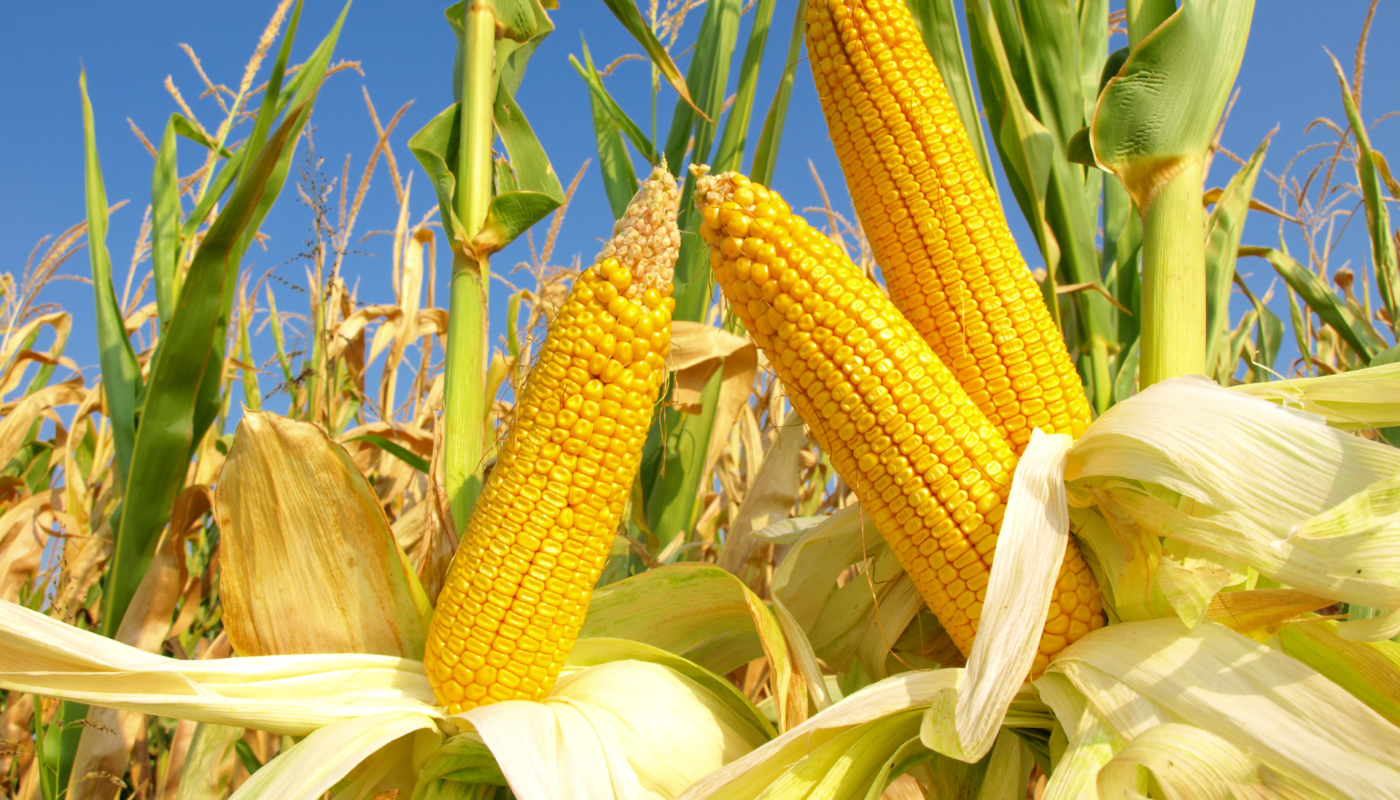
Sweet corn (Zea mays convar. saccharata) is a warm-season annual crop that thrives in sunny, fertile plots.
It differs from field corn in that it’s harvested when the kernels are in the “milk stage”—when sugar content is at its highest and starch content is still low.
Field corn is typically left to dry on the stalk and is used for livestock feed, industrial products, or ground into cornmeal.
The main appeal of sweet corn is its sugar content. However, once harvested, that sugar quickly begins converting into starch.
This is why freshly picked sweet corn tastes so much better than anything you’ll find in a grocery store.
Anatomy of a Corn Plant
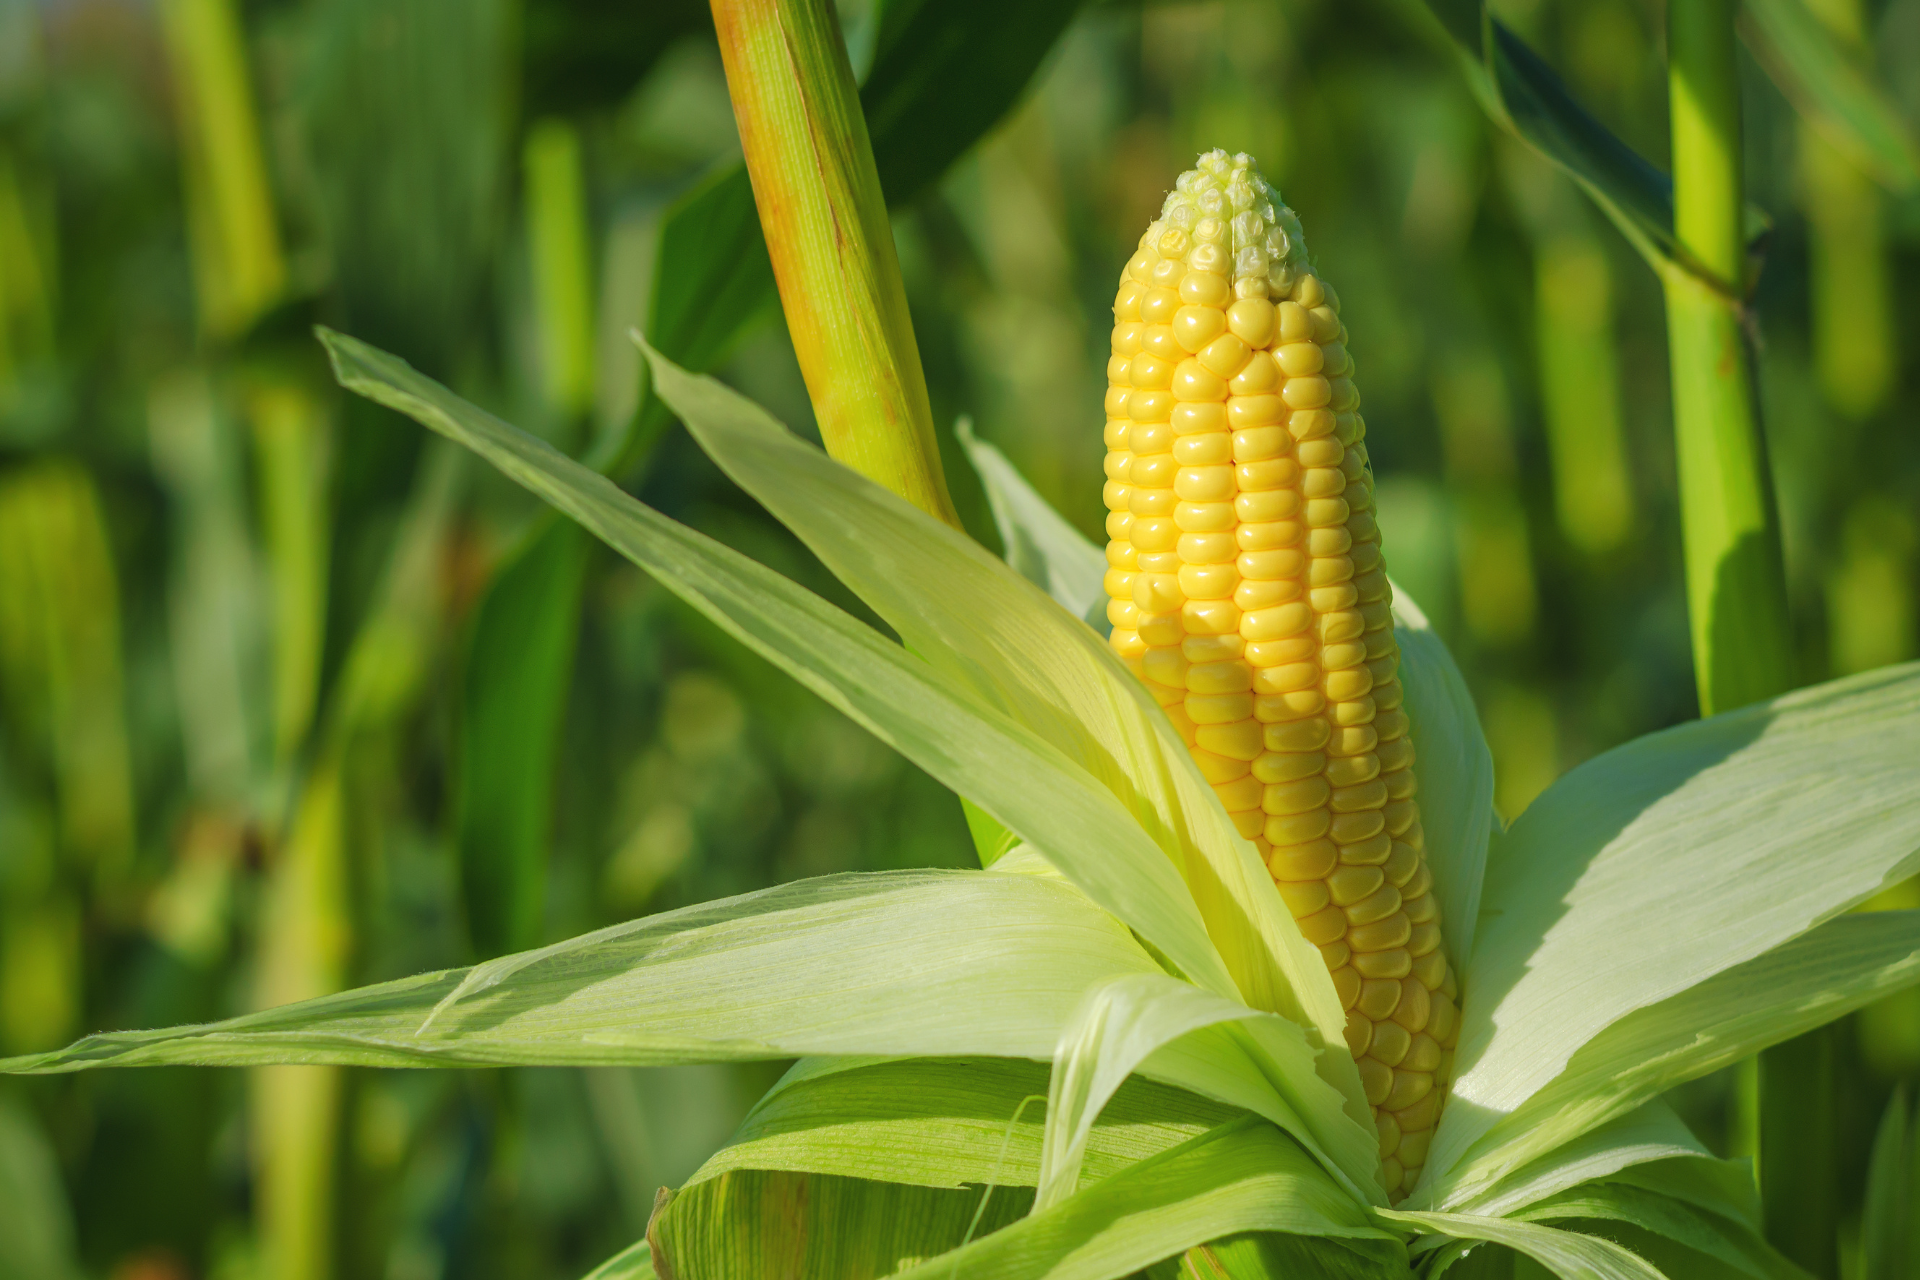
Corn plants have a simple yet unique structure. The tall stalk acts as the main support. At the top is the tassel, which releases pollen.
Along the stalk are broad leaves and, eventually, ears that grow out from the leaf axils.
Each ear has silks, thread-like styles that extend from the cob. For every kernel to form, a grain of pollen must land on a silk. This is why pollination is critical for corn.
Choosing the Right Variety of Sweet Corn
There are several categories of sweet corn, each with distinct characteristics in sweetness, texture, and shelf life.
1. Normal Sugary (su) Varieties
These are traditional sweet corn varieties. They germinate well in cooler soils and have a creamy texture and mild sweetness. However, the sugar rapidly converts to starch after harvest, so they must be eaten or preserved quickly.
Popular examples: Golden Bantam, Early Sunglow
2. Sugary Enhanced (se) Varieties
These contain genes that slow down the conversion of sugar to starch, offering a longer harvest window and better texture. They’re more tender and sweeter than su varieties but still fairly easy to grow.
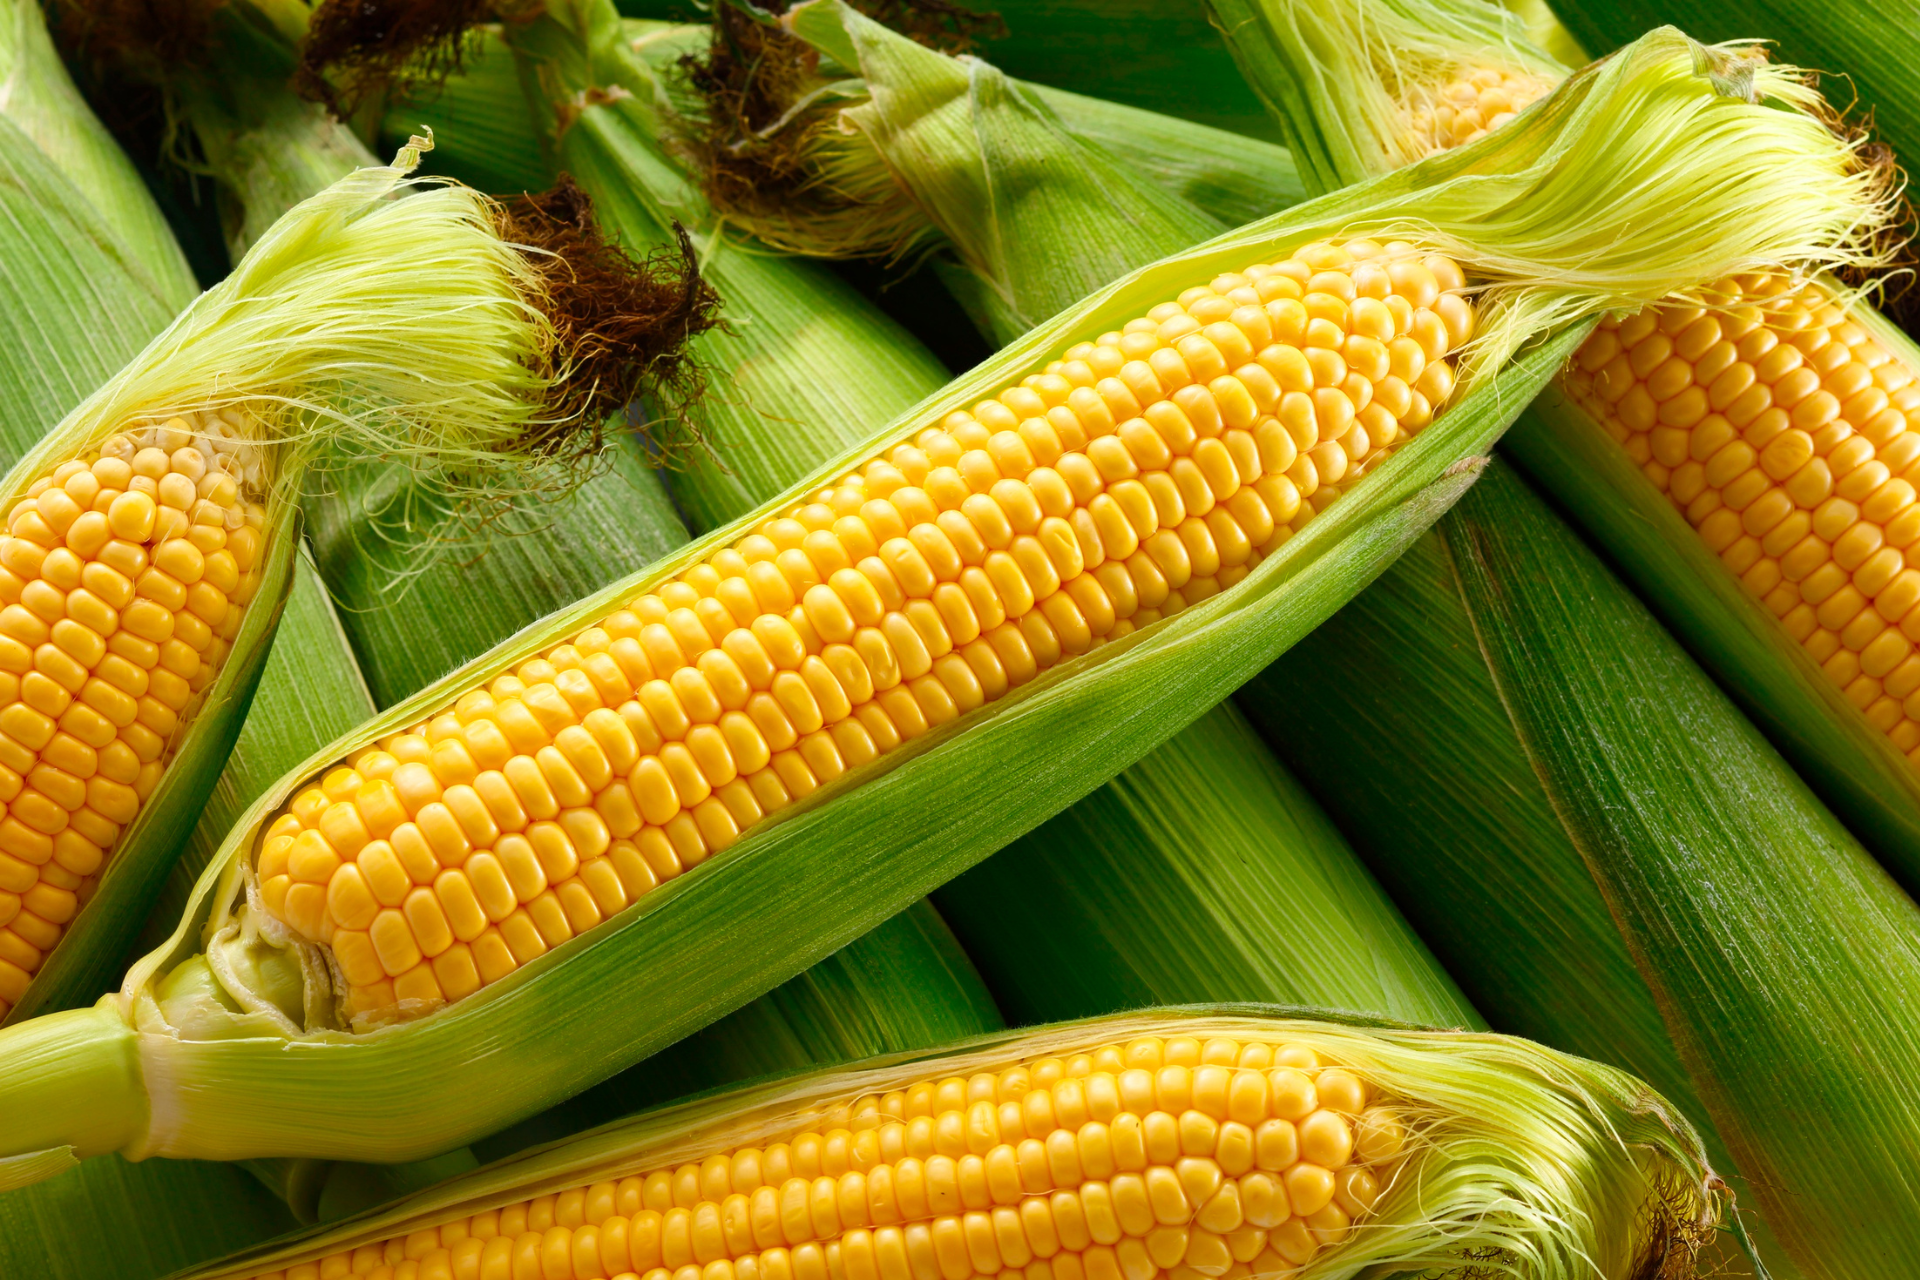
Popular examples: Peaches & Cream, Incredible, Bodacious
3. Supersweet (sh2) Varieties
These varieties have two copies of the shrunken-2 gene. They produce exceptionally sweet kernels and have an extended shelf life. However, they’re more demanding: they need warmer soil to germinate and must be isolated from su and se types to prevent cross-pollination.
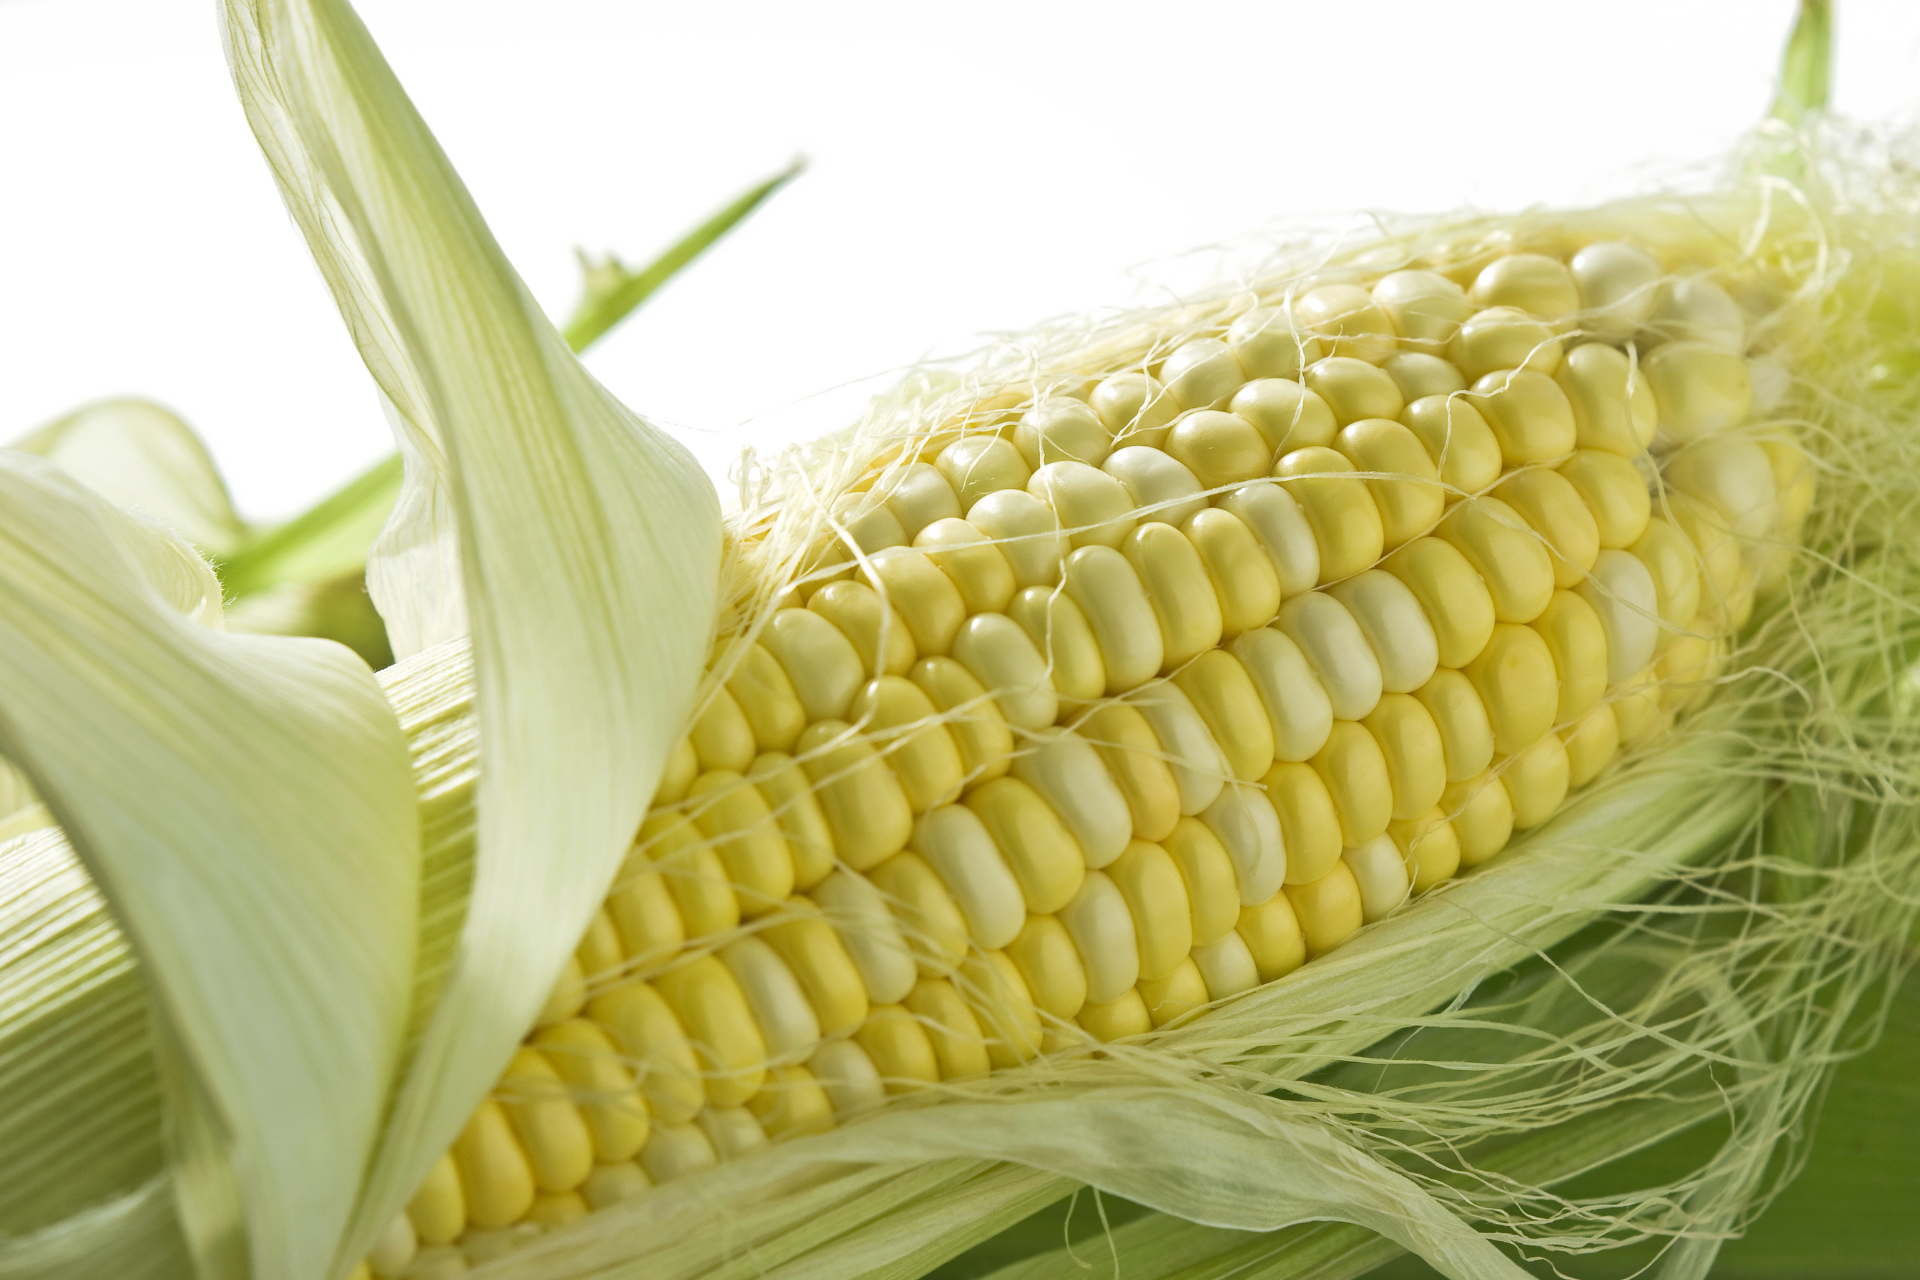
Popular examples: Honey ‘n Pearl, Xtra-Tender, Illini Xtra Sweet
4. Synergistic (sy) Varieties
Synergistic hybrids combine different genes to balance sweetness and texture. They offer excellent flavor and hold up well after harvest. They’re gaining popularity among both home gardeners and commercial growers.
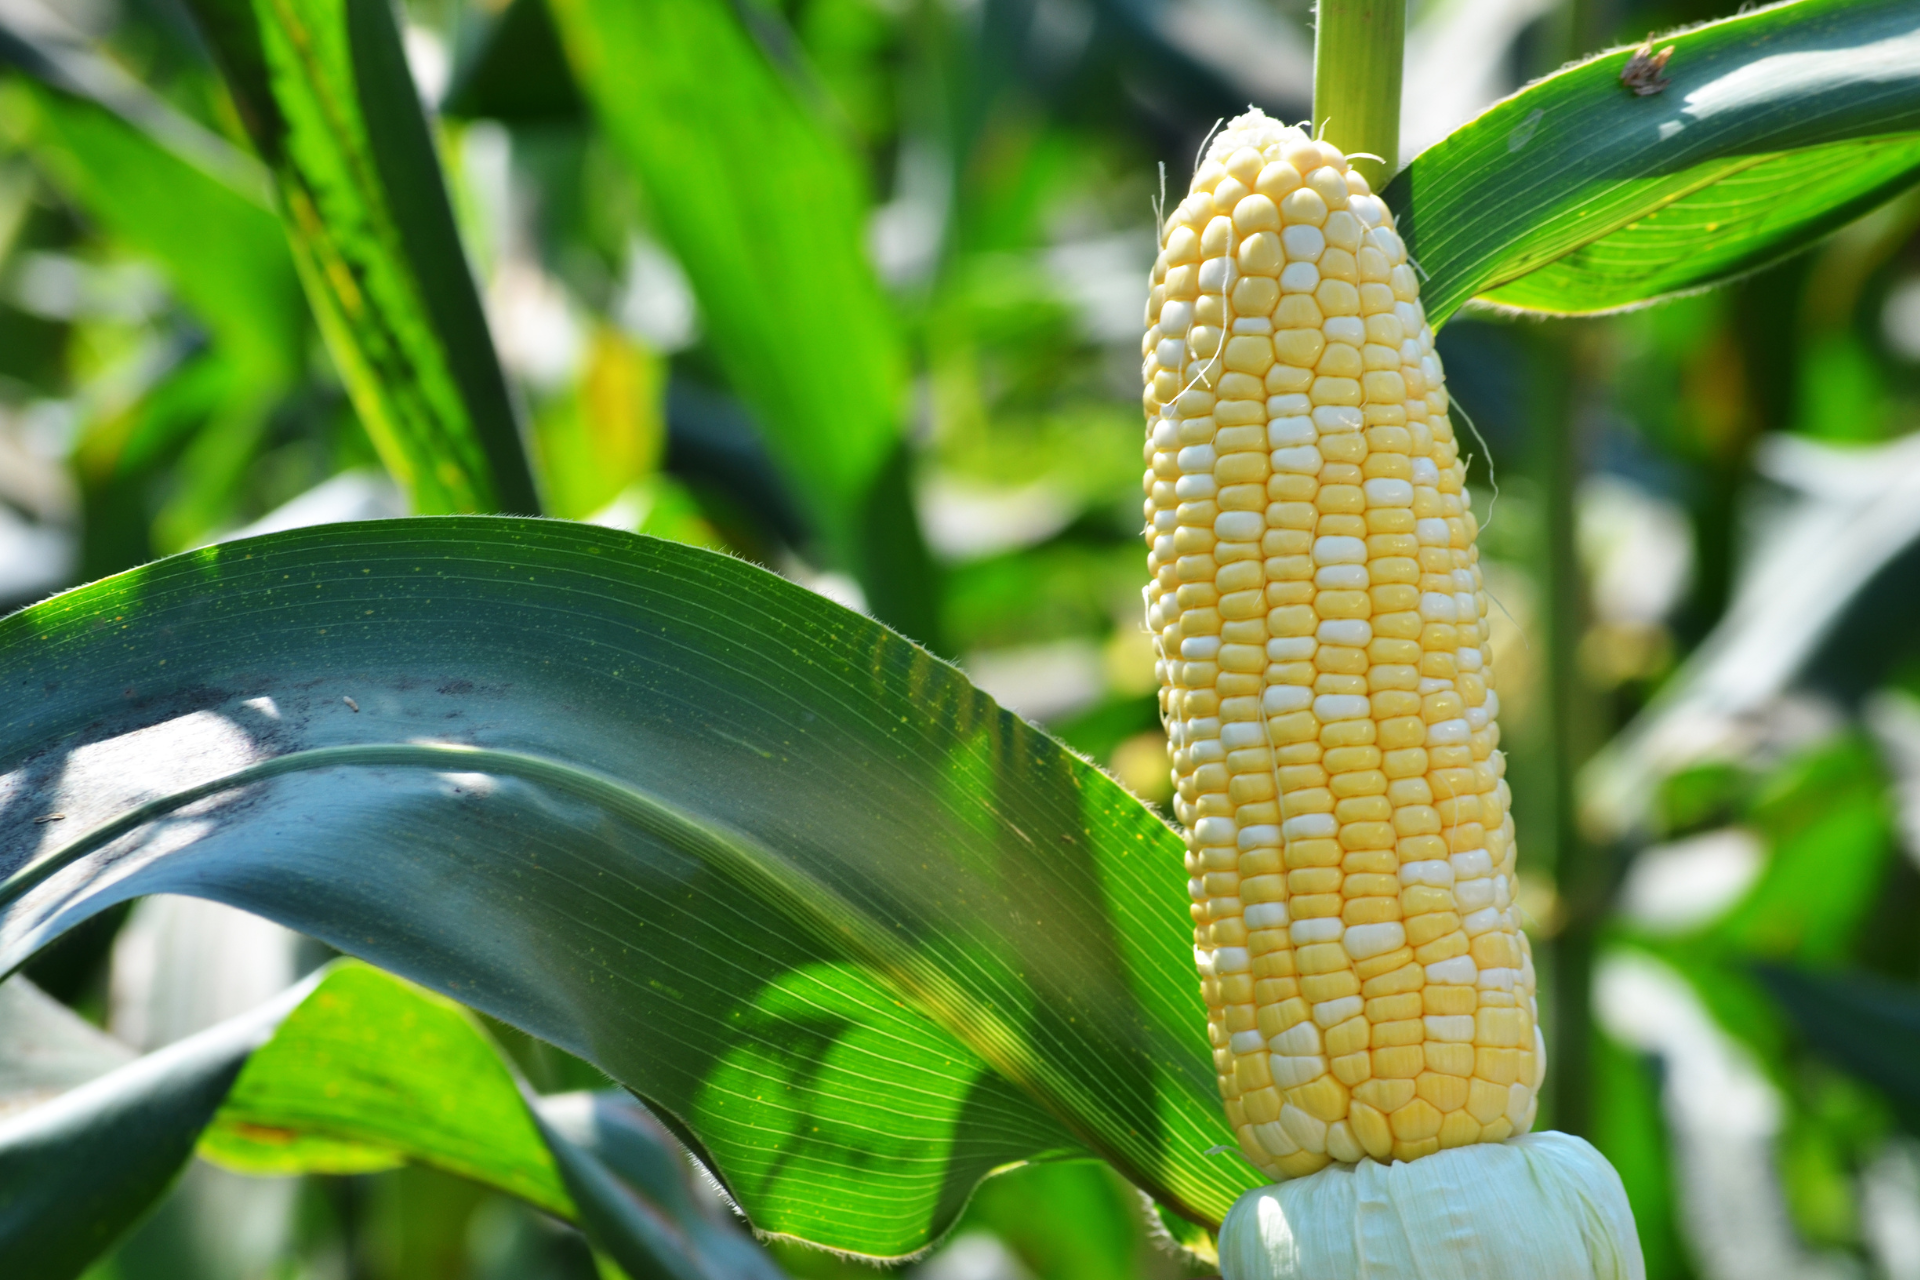
Popular examples: Sweetness, Providence
When choosing a variety, consider your growing season length, climate, soil temperature, and whether you’re willing to isolate different types. Also, think about whether you prefer yellow, white, or bi-color kernels.
When to Plant Sweet Corn
Corn is sensitive to soil temperature. For optimal germination, the soil should be at least 60°F (16°C), and ideally 65–70°F (18–21°C) for supersweet varieties. Planting too early in cold, wet soil can lead to poor germination or seed rot.
Regional Planting Windows
Southern U.S.: Late March to early May
Midwest & Northeast: Late April through June
Northern U.S. & Canada: Late May through July
Succession Planting
To enjoy sweet corn for a longer period, stagger your plantings every 10–14 days. Alternatively, plant varieties with different maturity rates (e.g., 60, 75, and 90-day harvests) all at once. This ensures a continuous harvest without the need to replant.
Choosing and Preparing Your Site
Sunlight
Sweet corn needs full sun. That means a minimum of six hours of direct sunlight per day, though eight or more is ideal.
Soil Type
Corn does best in loamy, well-drained soil. Sandy soils drain too quickly and may require more irrigation. Heavy clay soils can become waterlogged, leading to poor root development.
Soil pH
The ideal pH for sweet corn is between 6.0 and 6.8. You can test your soil with a home kit or send a sample to a local extension office. If your pH is too low, add lime. If it’s too high, amend with sulfur or organic material.
Preparing the Soil
1. Clear the Area: Remove weeds, grass, and debris.
2. Till the Soil: Loosen the soil to a depth of 6–8 inches.
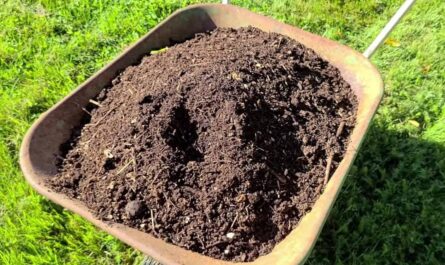
3. Add Compost: Incorporate 2–3 inches of compost or aged manure to improve fertility.
4. Fertilize: Mix in a balanced fertilizer (e.g., 10-10-10) according to label directions.
Planting Sweet Corn
1. Spacing
- In-row spacing: 8–12 inches between plants
- Row spacing: 30–36 inches between rows
Rather than long single rows, plant corn in blocks (e.g., 4 short rows of 10 feet each). This improves wind pollination, which is essential for kernel formation.
2. Depth
- Plant seeds 1–1.5 inches deep in moist soil
- In dry conditions, plant 2 inches deep to access moisture
3. Water Immediately
- Water well after planting to ensure good seed-to-soil contact.
Watering and Fertilization
Water Requirements
Corn is shallow-rooted and sensitive to water stress, especially during silking and ear development.
- Provide 1–1.5 inches of water per week (from rain or irrigation).
- Avoid overhead watering during pollination. Drip irrigation or soaker hoses work best.
Fertilization Schedule
1. At planting: Incorporate a complete fertilizer (e.g., 10-10-10).
2. Side-dressing: When plants are knee-high, apply a high-nitrogen fertilizer (e.g., 21-0-0) 4–6 inches away from the base of the plants.
3. Tassel stage: Apply another round of nitrogen to support ear development.
Always water after fertilizing to prevent root burn.
Pollination
Corn is wind-pollinated, not insect-pollinated. That means pollen must travel from the tassels to the silks of the ears. Each silk corresponds to a kernel. Poor pollination leads to missing kernels.
How to Improve Pollination
1. Plant in Blocks: Encourages even pollen distribution.
2. Avoid Windy Plantings: Shield the area with windbreaks or plant in less exposed areas.
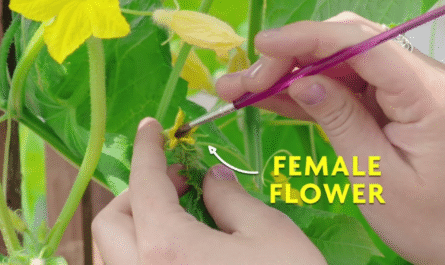
3. Manual Pollination: In small gardens, shake the tassels or use a soft brush to dust pollen onto the silks.
Isolation
To avoid cross-pollination (which can ruin taste and texture), plant different corn types at least 250 feet apart or stagger planting dates by 2–3 weeks.
Pests and Disease Control
Common Pests
1. Corn Earworm
Enters ears through the silk. Control with:
- Mineral oil applied to silks after pollination
- Bacillus thuringiensis (Bt) sprays
2. Cutworms
Cut off young plants at soil level.
- Use collars around seedlings
- Keep garden weed-free
3. Aphids
Suck sap and spread viruses.
- Use insecticidal soap or neem oil
- Encourage ladybugs
Diseases
1. Corn Smut
Causes grey, swollen growths.
- Remove infected plants
- Don’t compost affected ears
2. Rust and Leaf Blights
Fungal issues affecting leaves.
- Plant disease-resistant varieties
- Water at soil level to prevent splash
3. Stewart’s Wilt
Bacterial disease spread by flea beetles.
- Use resistant varieties
- Control beetle populations
Crop Rotation
Don’t plant corn in the same spot year after year. Rotate with legumes or leafy greens to break pest and disease cycles.
Harvesting Sweet Corn
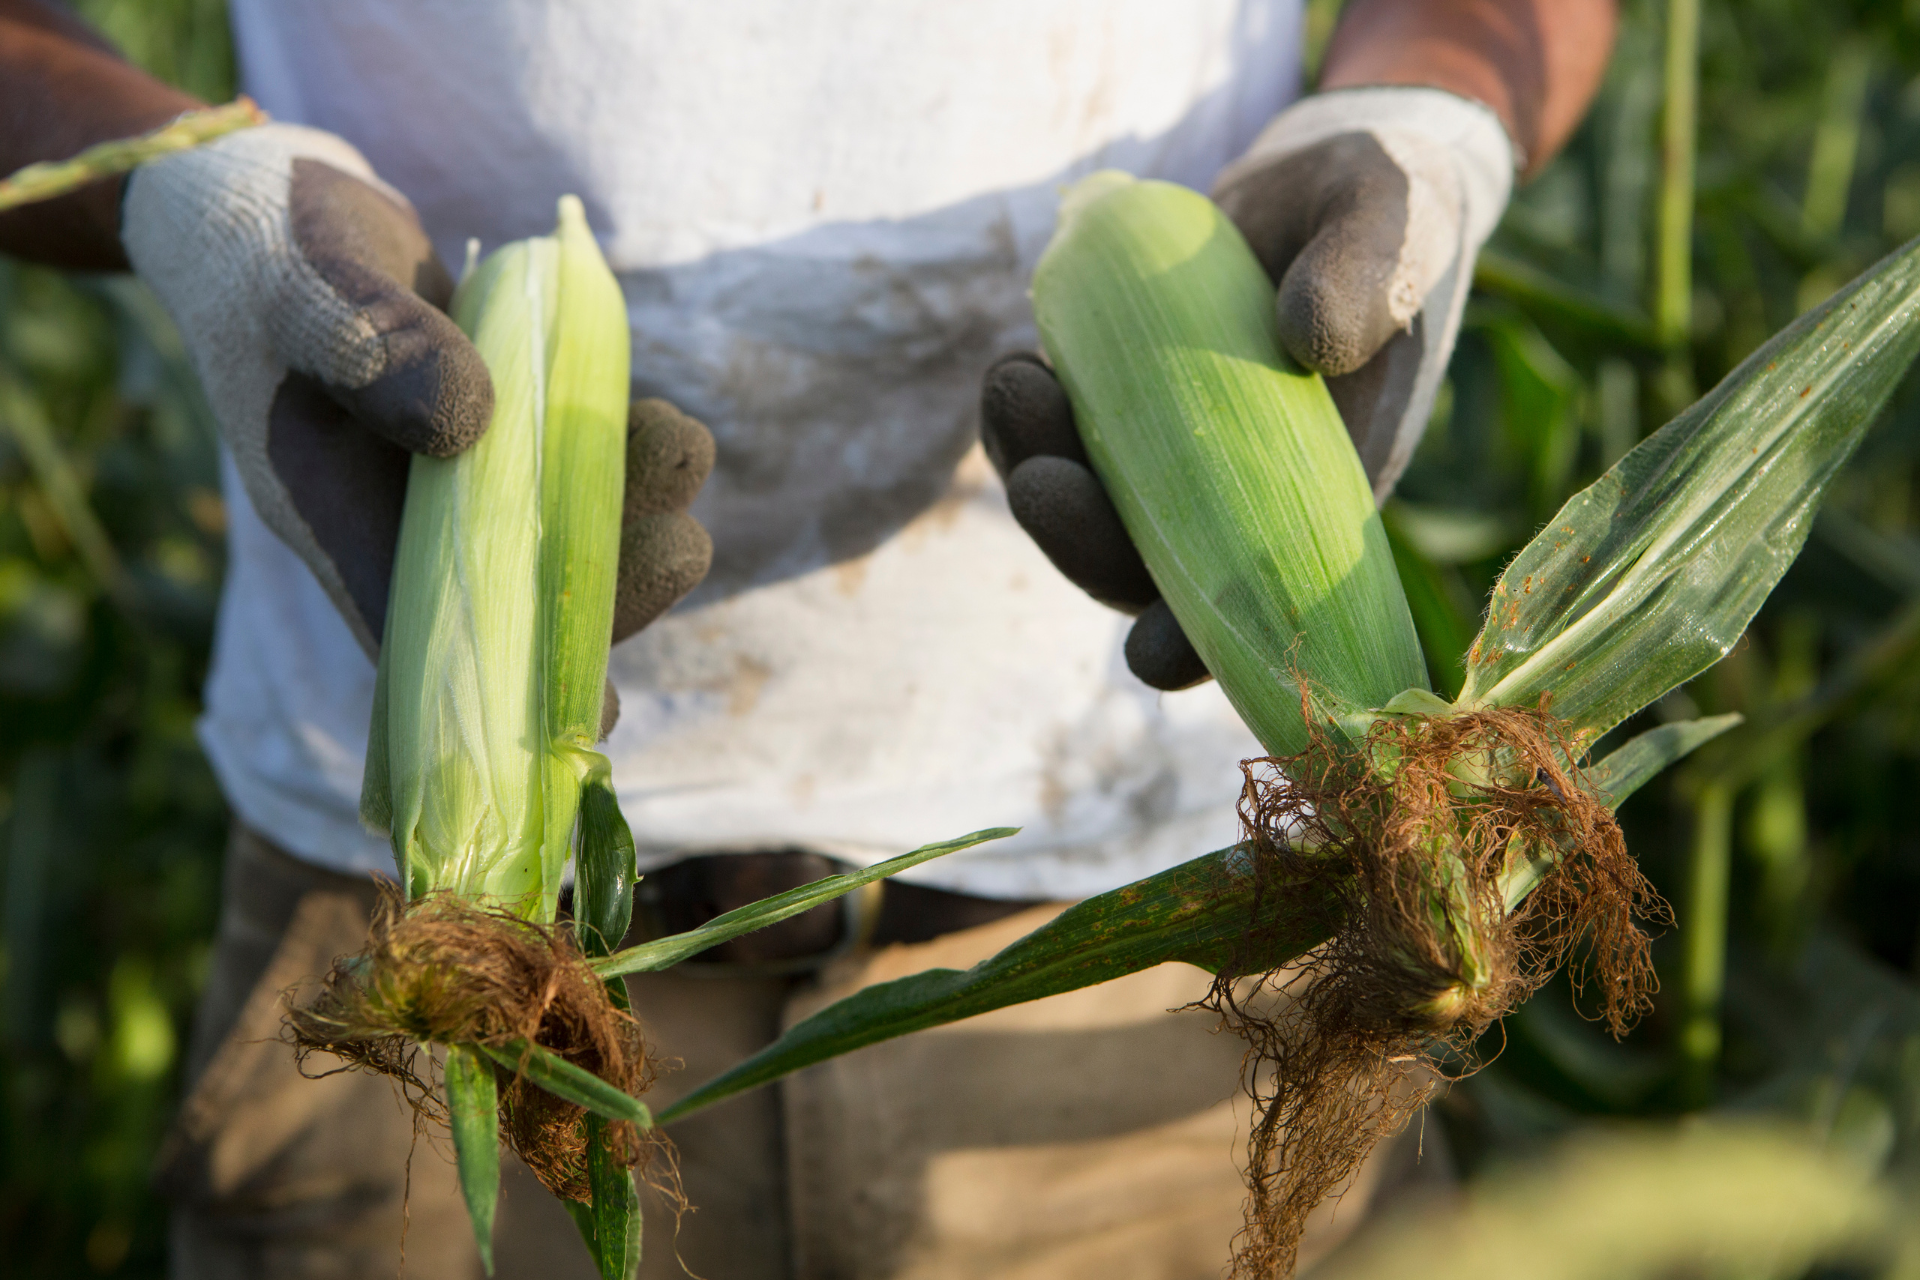
Sweet corn is typically ready to harvest 60–100 days after planting, depending on the variety.
Signs of Readiness
1. Silks are brown and dry: About 20 days after silking
2. Kernel test: Puncture a kernel with your thumbnail; it should release a milky liquid
3. Full ears: Ears should feel firm and full when gently squeezed
How to Harvest
Grasp the ear, twist downward, and pull. Handle gently to avoid damaging the stalk or kernels.
Storing and Preserving Sweet Corn
Fresh sweet corn starts losing flavor immediately. Use it within 24 hours for peak taste.
Short-Term Storage
- Store unhusked ears in the refrigerator
- Place in a loose plastic bag or perforated container
- Best consumed within 3–5 days
Freezing
- Husk and blanch ears in boiling water for 4–6 minutes
- Cool quickly in ice water
- Cut kernels off cobs
- Pack into freezer-safe containers
Canning
Sweet corn can be pressure canned, but it requires care due to its low acidity. Always follow USDA guidelines for safety.
Troubleshooting Common Problems
1. Poor Germination
- Cause: Cold or wet soil
- Fix: Wait for soil temps to rise before planting
2. Yellowing Leaves
- Cause: Nitrogen deficiency
- Fix: Side-dress with nitrogen-rich fertilizer
3. Uneven Ears
- Cause: Poor pollination
- Fix: Plant in blocks and consider hand pollination
Final Thoughts
Growing sweet corn takes space, care, and attention to timing, but the rewards are worth it. Whether you’re new to gardening or an experienced grower, the keys to success are choosing the right variety, ensuring good pollination, and giving your plants the consistent care they need.
Follow the guidance in this manual, and you’ll be pulling sweet, juicy ears off the stalks all summer long.
Fresh corn from your garden isn’t just better, it’s a whole different experience.

