Spinach is one of the most rewarding crops to grow at home. It’s fast-growing, nutrient-dense, and incredibly versatile in the kitchen.
But if you want to enjoy spinach leaves all season long, knowing how to harvest it the right way is essential. Done correctly, you can keep your plants producing for weeks or even months, extending your harvest and getting the most out of your garden space.
This guide covers everything you need to know about harvesting spinach for a continuous supply, from proper harvesting techniques to advanced plant care strategies, succession planting, and tips to extend your growing season.
Also Read: How to Grow and Care for Your Cabbages
Why Harvesting Spinach Properly Matters
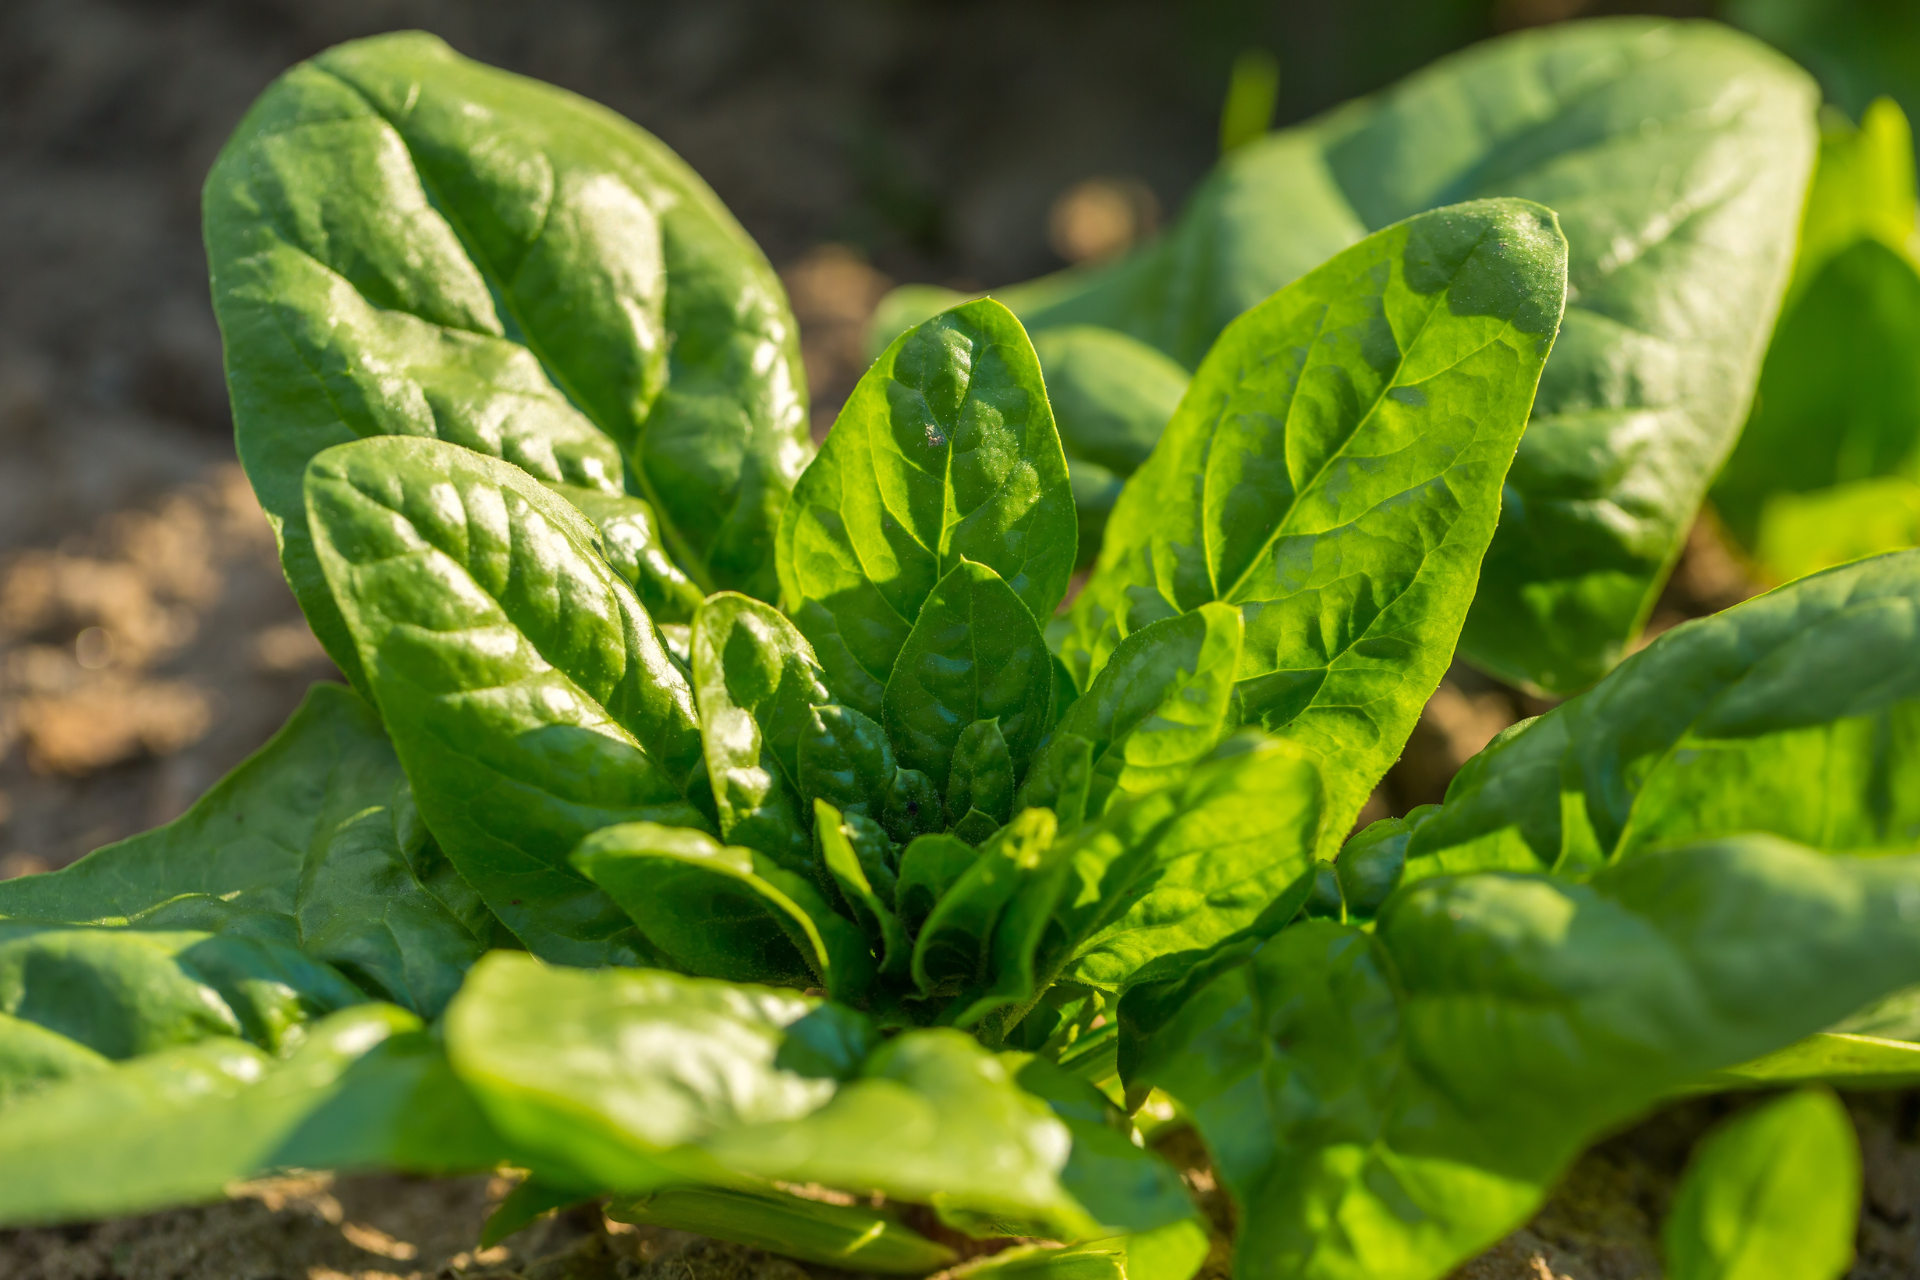
Spinach (Spinacia oleracea) grows in a rosette pattern, meaning the leaves radiate from a central point at the base of the plant. If you harvest the entire plant at once, you’re essentially cutting off the possibility of new growth.
However, by selectively harvesting the outer leaves and leaving the inner growth intact, you allow the plant to continue producing new leaves.

Another critical factor is bolting. Bolting is when the plant transitions from producing leaves to producing seeds. When spinach bolts, it sends up a central flower stalk, and the leaves become bitter and less palatable. Regular harvesting helps delay this process by encouraging the plant to stay in its vegetative growth phase.
Understanding your spinach plant’s growth cycle and stress triggers allows you to harvest efficiently and extend the plant’s life.
When to Start Harvesting Spinach
Timing is key when it comes to harvesting spinach. The optimal time to start harvesting depends on what kind of spinach you’re growing (baby or mature) and what you plan to use it for:
- Baby spinach stage: Typically ready in 20 to 30 days after planting. These young, tender leaves are perfect for raw applications like salads and smoothies. Baby spinach is mild in flavor and less fibrous, making it easy to eat.
- Mature leaves: Ready in about 35 to 50 days after planting. These larger leaves have a stronger flavor and a slightly firmer texture, which makes them ideal for cooking in sautés, soups, and casseroles.
To maximize your yield, don’t wait for the entire plant to mature. Harvesting earlier and more often not only improves flavor but also encourages new leaf production.
How to Harvest Spinach for Continuous Growth
There are two main techniques for harvesting spinach, and the right one depends on your goals:
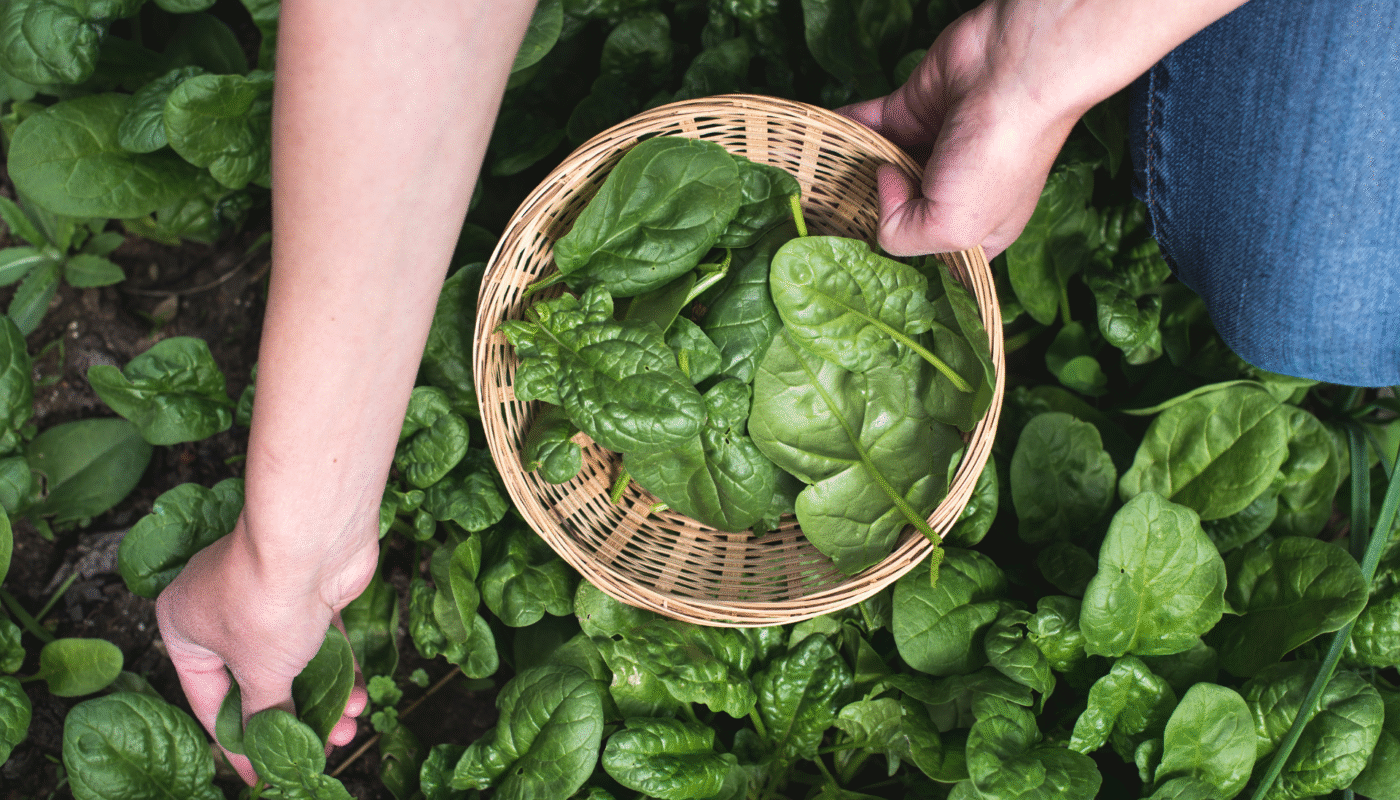
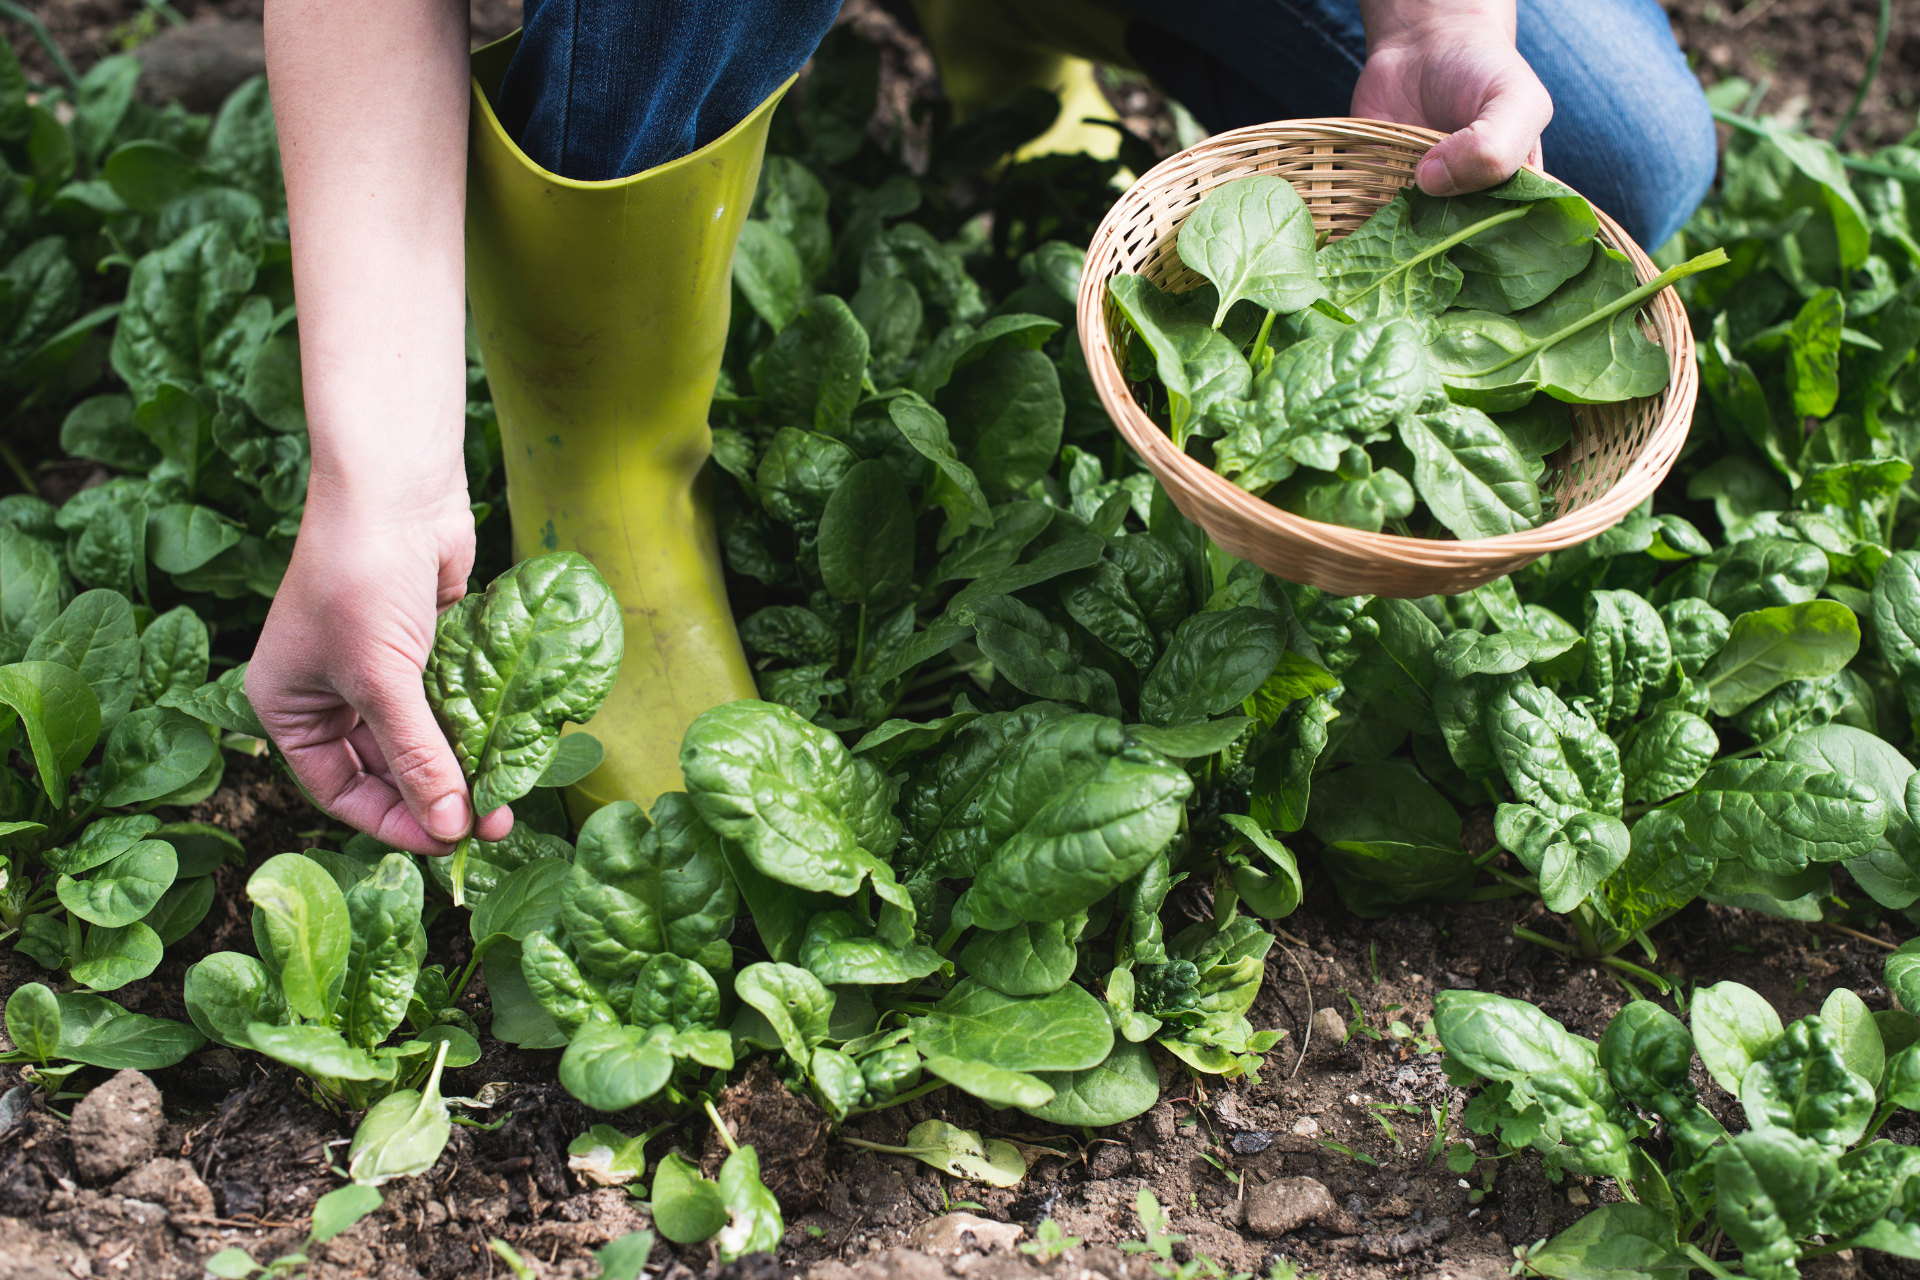
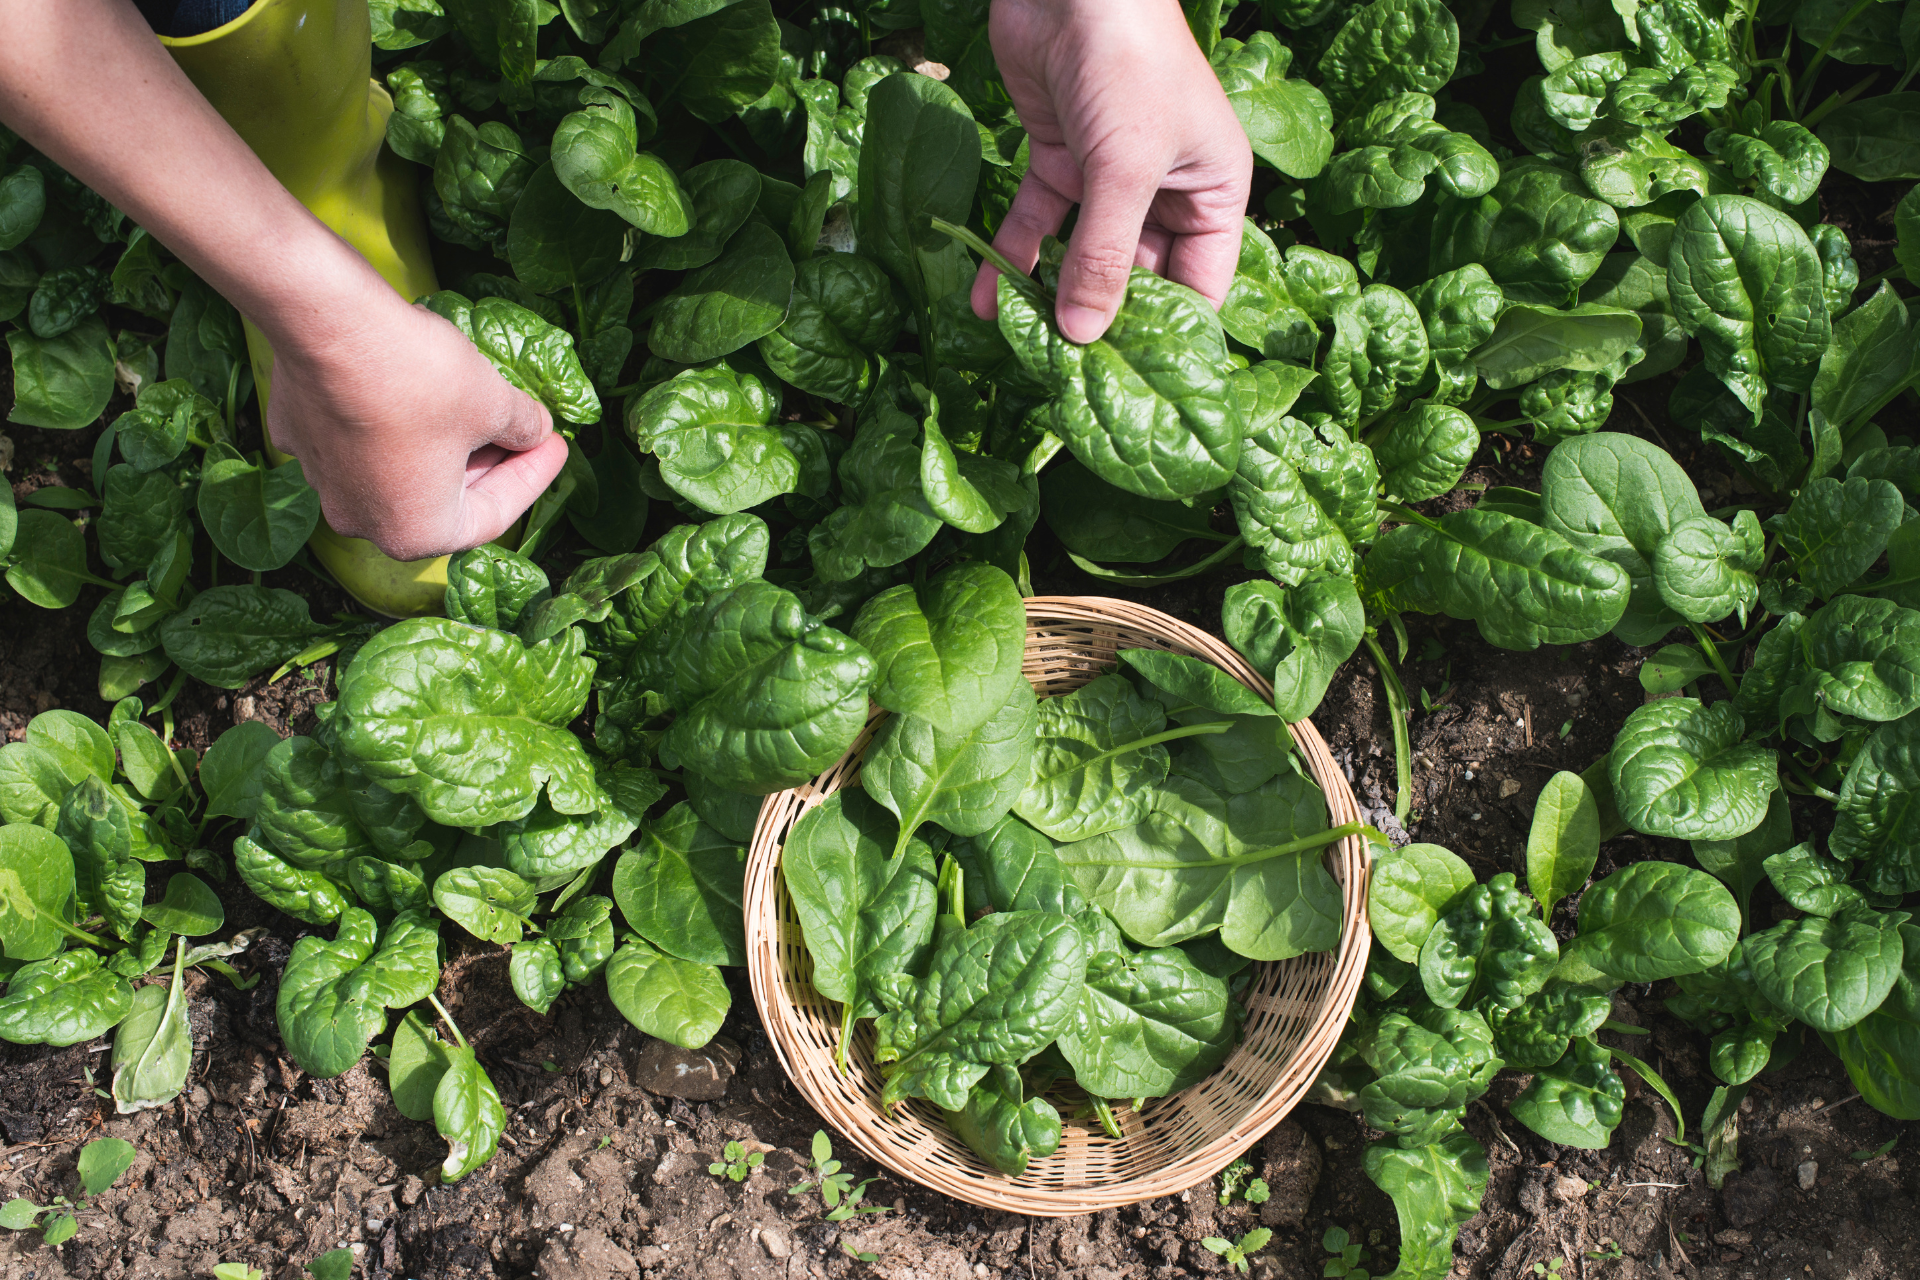
1. Cut-and-Come-Again Method
This method is ideal for a continuous harvest and works best for both baby and mature spinach:

- Use clean, sharp scissors or garden shears to avoid damaging the plant.
- Snip the outer leaves first, cutting them about 1 inch above the base of the plant.
- Always leave the central crown and inner leaves untouched. This is the growth point, and damaging it will halt further production.
- Harvest no more than one-third of the plant at a time to avoid over-stressing it.
This method can be repeated every week or so, depending on how fast your plants are growing.
2. Whole Plant Cut (Selective Timing)
This method is suitable when the plant is nearing the end of its life cycle or starting to bolt:
- Cut the plant about 1 inch above the soil using a sharp knife or scissors.
- Best done in the early morning when the leaves are crisp and fully hydrated.
While this method doesn’t allow for regrowth from the same plant, it’s useful if you have a succession planting schedule or need a large harvest all at once.
Harvesting Tips for Maximum Yield
A successful, ongoing harvest depends on more than just the cutting technique. Consider these tips:
- Harvest early in the morning: This is when spinach leaves have the most moisture and flavor.
- Avoid harvesting in extreme heat: This stresses the plant and may accelerate bolting.
- Use sterilized tools: Dirty tools can transmit diseases from plant to plant.
- Keep an eye on growth rate: Plants under optimal conditions will grow fast and need more frequent harvesting.
How to Encourage Continued Spinach Production
Your harvesting routine is just part of the picture. Supporting the plant through strategic care methods will help maximize the lifespan of your spinach.
1. Succession Planting
To maintain a constant supply, plant new spinach seeds every 2 to 3 weeks during the growing season. This ensures that as one batch is harvested or begins to bolt, another is ready to take its place.

2. Cool Growing Conditions
Spinach thrives in temperatures between 45°F and 75°F. Once temperatures rise above 80°F, the plant is prone to bolting. To extend your growing season:
- Plant early in spring and again in late summer for a fall harvest.
- Use row covers or shade cloth in warm climates.
- Consider planting in partial shade if afternoon sun is too intense.
3. Consistent Watering
Inconsistent watering leads to stressed plants, which can trigger bolting. Spinach prefers moist but well-drained soil:
- Water deeply 1-2 times a week, depending on the weather.
- Use a soaker hose or drip irrigation to avoid wetting the leaves.
4. Mulching
A 1-2 inch layer of organic mulch (straw, shredded leaves, or compost) helps retain soil moisture, regulate temperature, and suppress weeds. It also protects the shallow roots of spinach from temperature swings.
5. Proper Spacing and Thinning
Crowded spinach plants are more susceptible to diseases and grow more slowly. Thin seedlings to 3-4 inches apart. This improves air circulation and allows each plant enough room to grow strong.
Signs Your Spinach is Ready to Be Pulled
Despite your best efforts, spinach will eventually reach the end of its productive life. Recognize the signs of bolting and maturity:
- A central stalk begins to grow upward rapidly.
- Leaves become narrow, tougher, and pointed.
- Flowers appear at the tip of the stalk.
- Leaves develop a bitter taste.
Once bolting begins, it’s best to harvest the entire plant and start fresh with a new batch or switch to a different crop.

Extending Your Spinach Season
You can stretch your spinach season beyond typical growing windows by:
- Using cold frames: These mini-greenhouses trap heat and protect against frost.
- Growing indoors: Use containers with proper drainage and place them under grow lights for year-round harvest.
- Fall planting: Spinach sown in late summer can be overwintered in some regions and harvested early in spring.
What to Do With Harvested Spinach
Spinach is best eaten fresh, but if you have a surplus, there are several ways to preserve it:
- Refrigeration: Store unwashed leaves wrapped in a damp paper towel inside a zip-top bag. Use within 5-7 days.
- Freezing: Blanch spinach in boiling water for 2 minutes, transfer to an ice bath, drain, and freeze in airtight containers.
- Dehydration: Use a dehydrator to dry the leaves, then crush them into a powder for seasoning or adding to smoothies.
- Fermentation: Less common but growing in popularity. Fermenting spinach can create a probiotic-rich food.
Troubleshooting Common Spinach Problems
Even with great care, issues can arise. Here’s how to handle common problems:
- Yellowing leaves: Often due to overwatering or nitrogen deficiency. Test soil and adjust your fertilization routine.
- Leaf spots or mildew: Caused by fungal infections. Ensure plants have proper spacing, avoid overhead watering, and remove affected leaves.
- Aphids and leaf miners: Spray with neem oil, insecticidal soap, or introduce beneficial insects like ladybugs.
- Slow growth: May indicate poor soil or low light. Enrich the soil with compost and ensure the plants get at least 4-6 hours of sunlight daily.
Final Thought
Harvesting spinach for a continuous supply is a balance of timing, technique, and smart plant care. By adopting the cut-and-come-again approach, planting in succession, and maintaining ideal growing conditions, you can transform a handful of seeds into months of homegrown, flavorful spinach.
Whether you’re filling salad bowls, green smoothies, or stir-fries, your garden can deliver fresh spinach on demand—you just need to keep the rhythm right.