Garlic is one of my favorite crops to grow; it’s tough, fragrant, and supremely satisfying to harvest at just the right moment. But to get that perfect, plump bulb with beautifully papery skin, timing is everything. Harvest too early, and you’ll have small cloves clinging loosely to wet, undeveloped bulbs. Wait too long, and you’ll find cloves splitting, papery skins brittle, and shelf life compromised.
Over the years, I’ve honed a simple, reliable system to know exactly when my garlic is ready. I’m going to share that system, explain the signs, walk through my preferred harvesting method, and cover aftercare to extend flavor, storage, and enjoyment.
Track Plant Development: From Shoot to Bulb
Growing Stages and Their Significance
I begin by dividing garlic growth into three key stages: vegetative (leafy top growth), bulbing (below-ground enlargement), and maturation (skin development). Recognizing when your garlic moves from one stage to the next sets the stage for accurate harvesting. Early on, garlic looks like a bunch of chives or leeks, green and leafy. That tells me nutrients are going into foliage. Once that growth begins to slow and lower leaves yellow, energy starts moving into the bulb below.
Leaf Count and Height Indicators
Counting leaves is an easy, precise method. I watch for when garlic has 4–6 green leaves (hardneck) or up to 8–10 (softneck) showing before it dips into maturity. When the foliage turns half‑yellow or around 30–40% of leaves show yellow tips, that’s my sign to start checking bulbs. Height also plays a role; when stems reach about 12–18 inches, growth is robust. Then I know, “Okay, I’m nearing bulbing.”
Environmental and Timing Clues
I also note seasonal cues. In my area, garlic planted in fall overwinters, sprouts in early spring, and bulbing starts in late spring/early summer. I cross‑reference heat units accumulated and soil moisture. If I’ve had cool, consistent moisture through spring, harvest might slip by a week compared to a dry, warm season. Tracking planting date, soil temps, and moisture levels lets me fine‑tune harvest timing year to year.
Also Read: 7 Best Soil Boosters to Help Fruit Trees Thrive and Keep Pests Away
What to Watch For
Yellowing and Die‑Back Patterns
That slow yellowing from the bottom up is the most reliable visual cue. I let 40–60% of the leaves turn yellow for hardneck varieties; with softneck, I let them decline a little longer, up to 70%. I’ve learned over the years that pulling a clove too early yields small, watery bulbs; waiting too long yields split skins or exterior growths called “escape cloves.”
Bulb Tilt Test
Something few gardeners use: lightly tilting the plant instead of tugging. If I can nudge a bulb without resistance and see a firmer, segmented bulb mass forming below, that tells me I’ve hit the bulbing stage. If the stalk twists easily and the center is bulbous when I gently expose the soil, I know it’s close.
Checking Soil and Smell
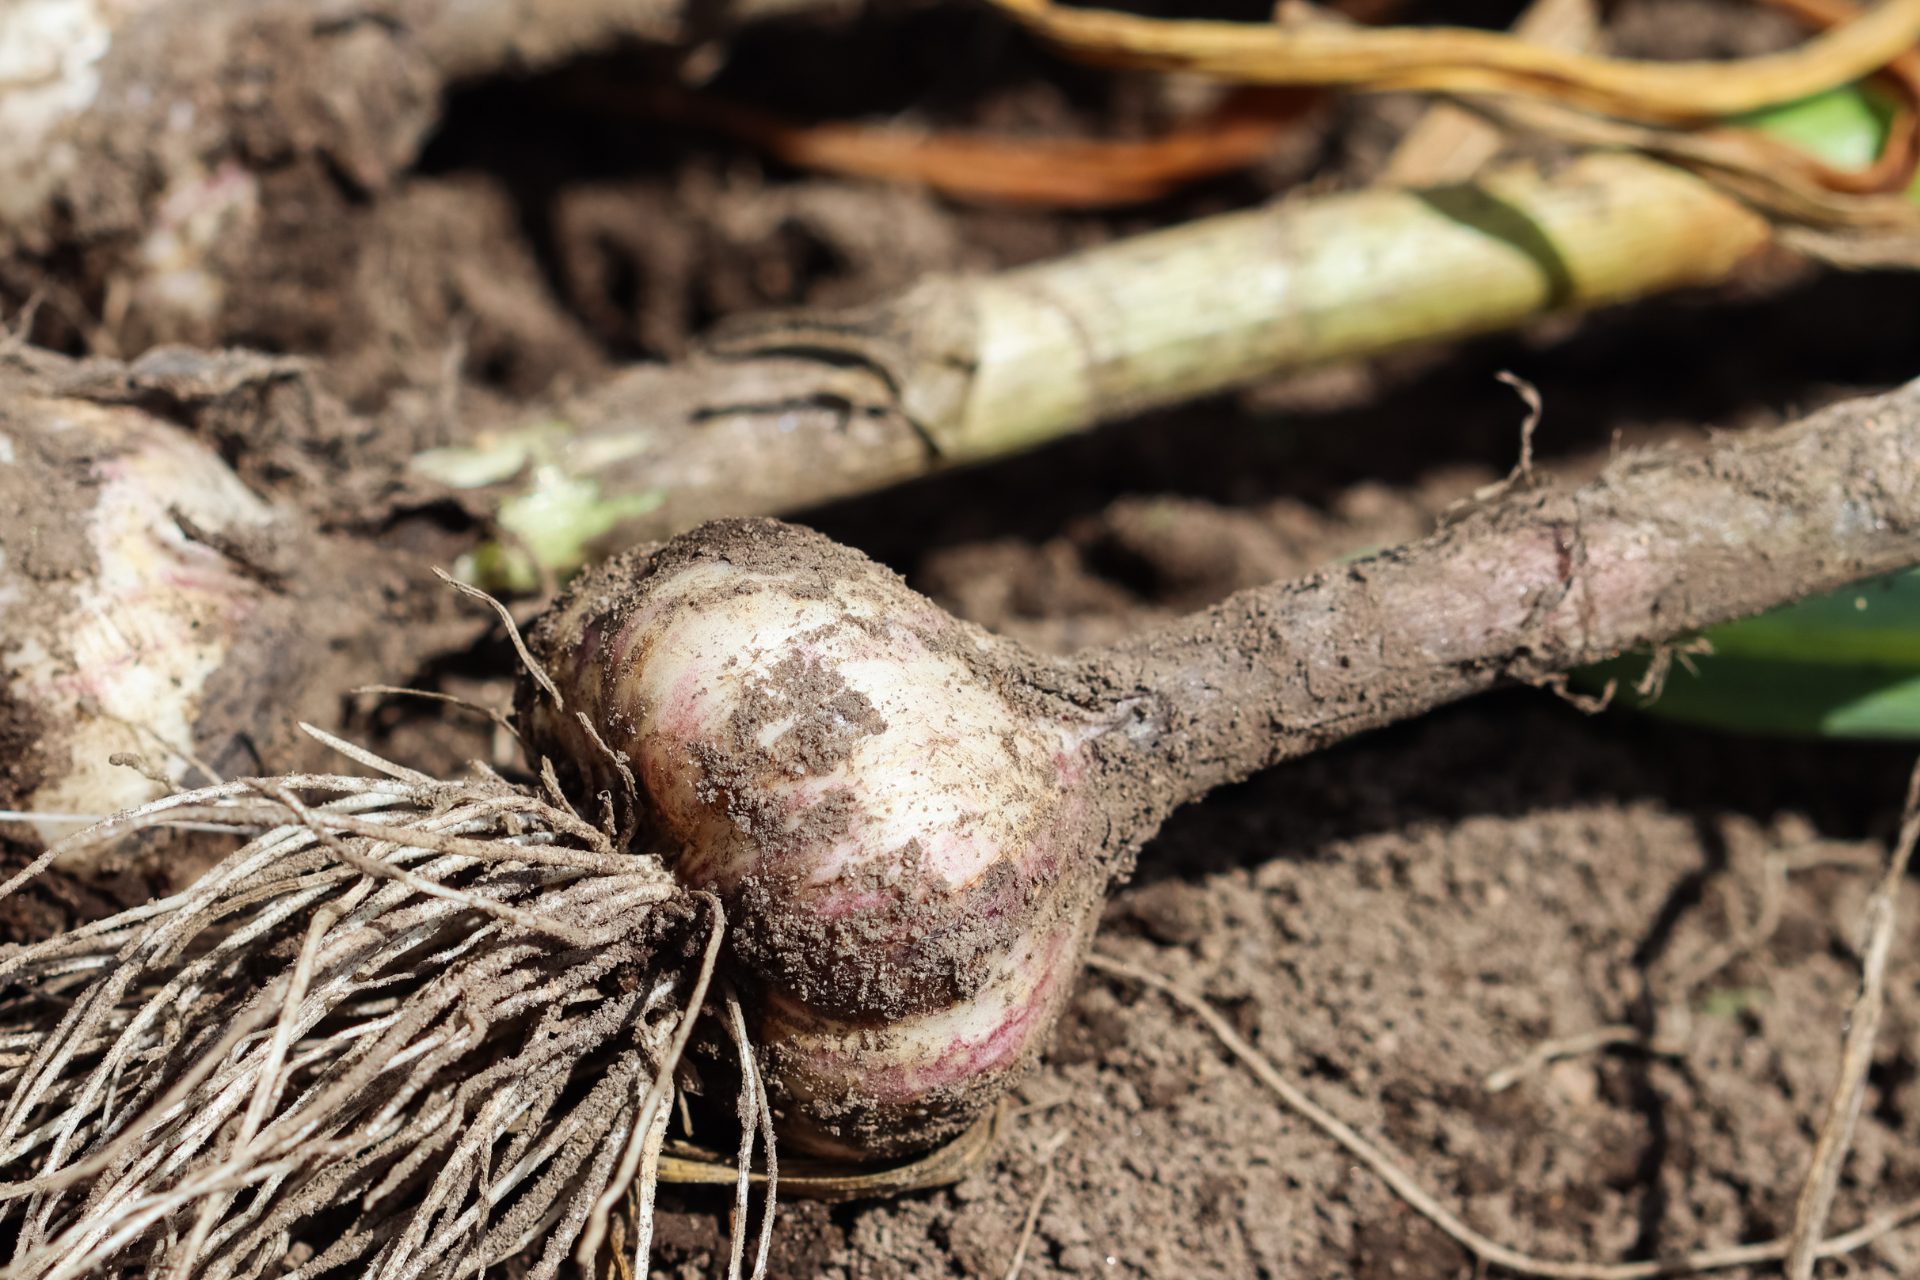
I dug up a test bulb, a single plant, dug gently about an inch deep. When the papery layers are forming around solid cloves and the garlic smell is strong and even, I’m confident it’s ready. This sensory test complements visual cues; if it still smells mild and damp, I hold off.
Harvesting Technique: From Field to Curing
Preparation: Tools and Timing
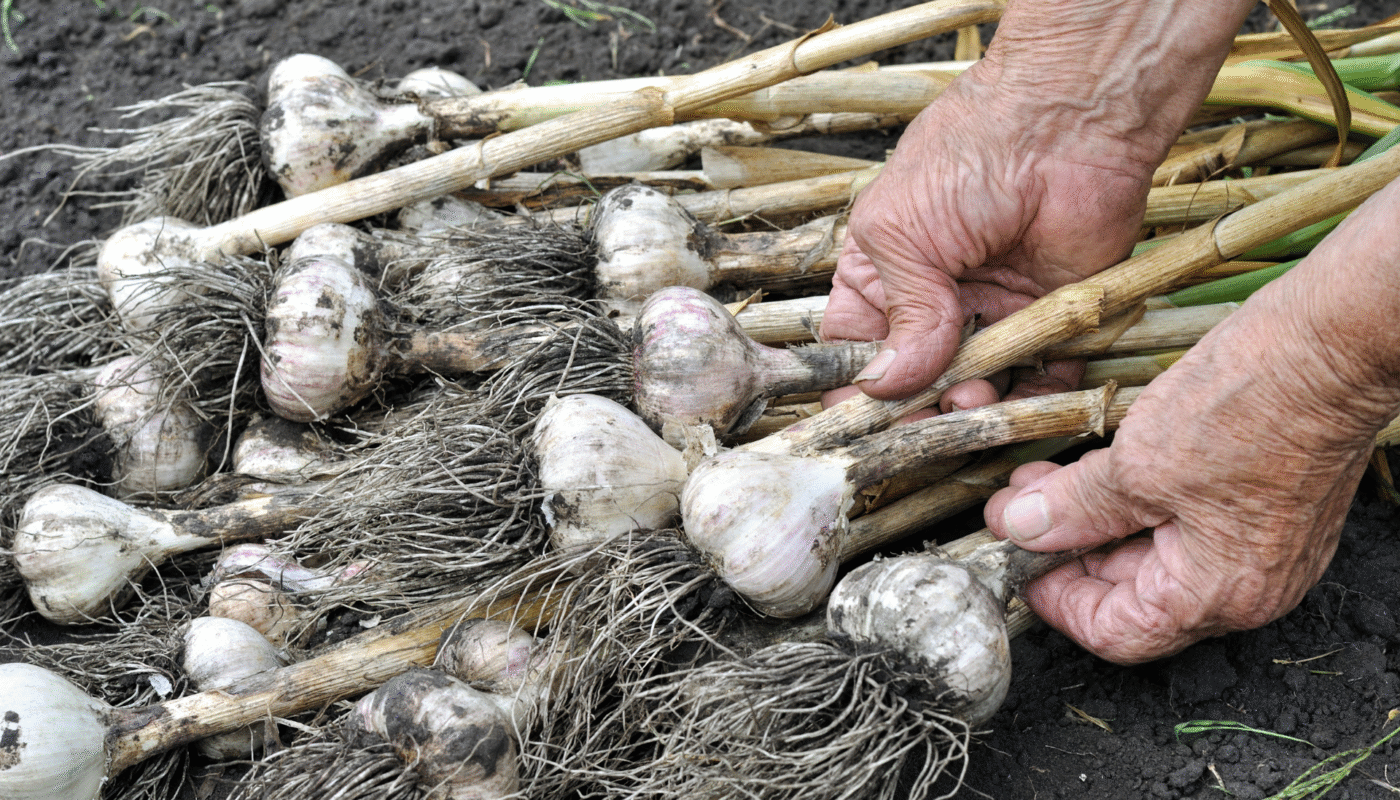
I harvest in the morning, after the soil has dried lightly but before the heat of midday. Moist ground clings to bulbs and risks bruising skins. I use a sturdy fork or shovel, inserted a few inches away from the plant, to gently lift the bulb. I avoid yanking by the stalk to keep skins intact. Loose soil moves easily away without damage.
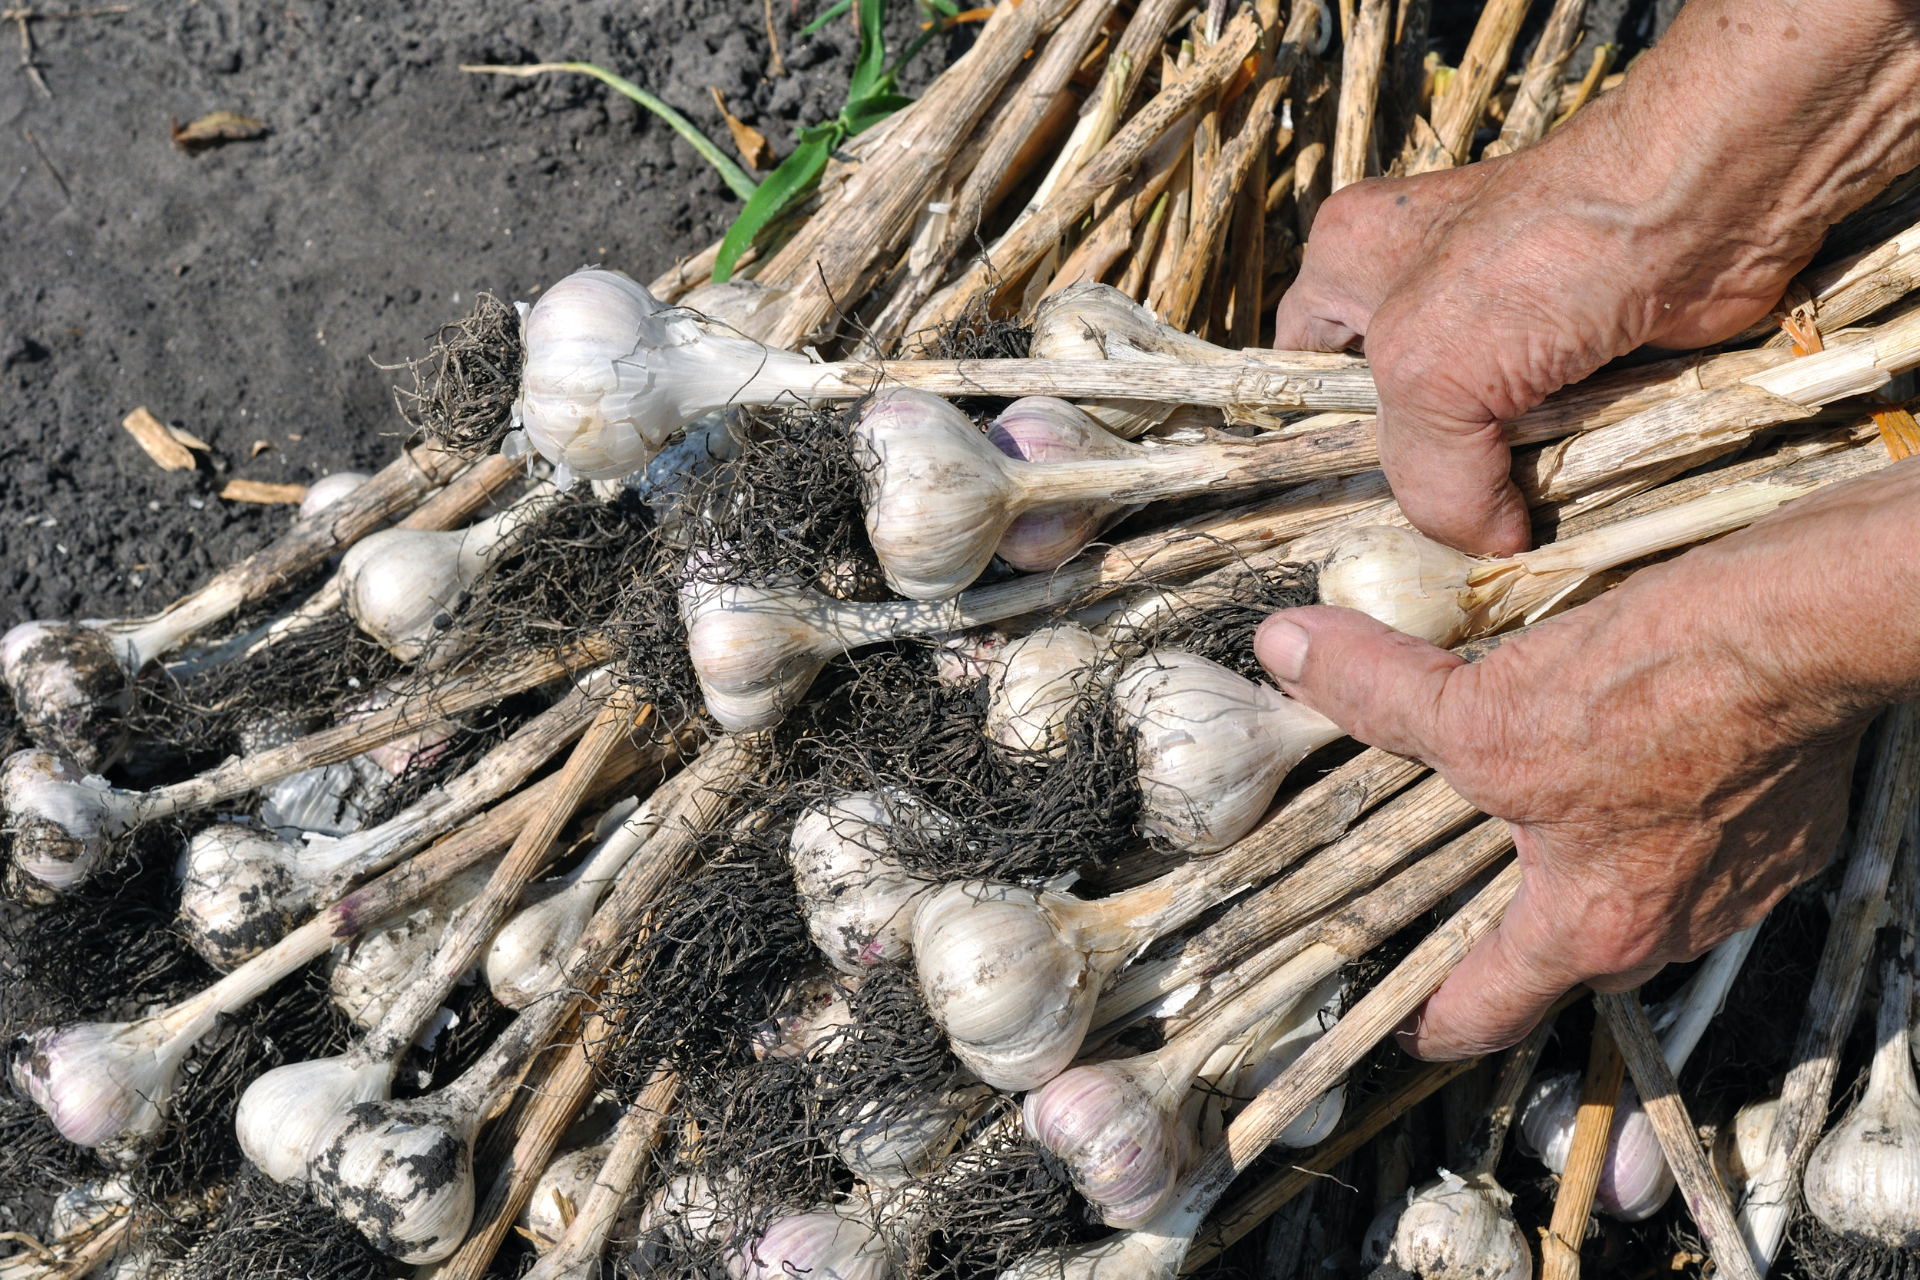
Lifting Bulbs: Step‑by‑Step
Once the fork loosens the clump, I hold the bulb near the base of the neck and lift straight up, shaking off excess soil. I leave about an inch of stem intact, this helps with curing later. I never wash bulbs in water. Clean, dry soil brushes off easily once fully cured. Wet skins encourage rot and mold.
Handling and Sorting
Immediately, I lightly brush the soil off and set the bulbs out of direct sun in a shady, well‑ventilated spot. I separate any bulbs with mechanical damage or closely inspect bulbs with loose skins and set those aside for immediate use, they won’t store well. The rest go to my curing area.
Ideal Curing: Patience Pays
Selecting the Right Environment
To cure garlic, I use a spot with 70–80°F temperatures, low humidity, and airflow. Ideal spaces include a shaded porch, breezy attic, or clothesline setup in a screened shed. I’ve found that plastic crates or mesh laundry bags work well to hold bulbs loosely so air circulates around each one.
Duration and Monitoring
I check bulbs every few days and rotate them, especially ones at the bottom of a pile, to ensure even drying. After 2–4 weeks, curing is done when necks are completely dry and papery, outer skins just twist and flake. Bulbs feel firm; cloves rattle if shaken. Smoke risk? If the curing temperature exceeds 85°F or the humidity rises, I open windows or move inside to prevent mildew.

Post‑Cure Trimming
Once cured, I trim the roots close to the bulb and cut the neck about half an inch above. I lightly peel a few loose outer skins so the bulbs look neat without removing the protective layers. Each bulb is labeled with variety and harvest date. I pack them in mesh bags and store them in a cool pantry or cellar at around 60°F, 60% humidity.
Storage Tips: Keeping Flavor Fresh
Optimal Storage Conditions
I’ll store garlic in darkness, with good airflow, temperature around 60–65°F, and humidity around 50–60%. Lower temperatures invite sprouting; higher temperatures invite rot. Clean mesh bags, woven baskets, or paper bags perforated for airflow help maintain dryness and quality.
Avoiding Common Storage Pitfalls
I keep garlic away from onions (which release moisture), heat sources like appliances, and direct sun. I check bulbs monthly, if I spot mold or sprouting, I remove that bulb to prevent the spread. In dry climates or dry seasons, I sometimes add a piece of moistened terry cloth about 3 feet away to moderate dryness, but it never touches garlic.
Leveraging Past‑Season Garlic
Older garlic tends to sprout or shrivel. I sort bulbs by harvest month, using older ones first. I normally consume all bulbs within 6–9 months. If cloves are soft, they still work in sauces, but I discard any that have mold spots or strong musty smells.
Variety Matters: Matching Harvest Techniques
Hardneck vs. Softneck Differences
Hardneck garlics (Rocambole, Purple Stripe) prefer cooler climates, produce a flowering stalk (scape), and have fewer but easier‑to‑peel cloves. I start harvesting when 40–50% leaves yellow. Softneck types (Silverskin, Artichoke) are planted in fall and harvested later, I wait for 60–70% leaf yellowing because they form skins more slowly.
How Climate Affects Timing
In humid regions, garlic skin dries more slowly, so I delay harvest slightly to allow natural drying in the ground. In extremely dry areas, I pull a bit earlier to prevent split cloves. The type of soil, sandy vs. clay, also influences how quickly bulbs form and mature. I amend clay with organic matter to improve drainage and reduce harvest timing frustration.
Preserving Variety Integrity
I keep detailed notes in a garden journal that record garlic variety, planting date, soil conditions, timing, and harvest date. That helps me refine harvest timing each year. Some varieties mature faster; others hold longer. The journaling ensures I harvest each variety at its optimal moment.

Troubleshooting Common Harvest Problems
Braided Necks and Split Bulbs
These often happen if I harvest too early for softneck types. Fix: Wait until necks are fully dried and no green remains. If I still get splitting, I note it in my journal to adjust harvest window next year.
Mold, Mildew, Soft Rot
High humidity or wet climates can promote rot during curing. I solve this by extending in‑ground curing (leaving bulbs and soil to dry for an extra 3–7 days) and then drying indoors in a well‑ventilated spot. I also raise garlic beds for better drainage.
Misjudging Maturity
Sometimes I miss the window and get sprouted or skinny bulbs. In that case, I use them first in cooking, and plant more robust varieties next season—ones that perform better under my conditions. Experience beats guesswork: each harvest, I observe results and tweak timing the following season.
Beyond Harvest: Maximizing Your Bounty
Saving Seed Garlic
At harvest time, I choose the biggest, healthiest, most uniform bulbs to save as seed stock. I check that cloves are intact, papery-skinned, and free of soft spots. Seed garlic can last 9–12 months if I store it well, just long enough to replant next fall.
Creative Uses for Imperfect Bulbs
Small or split‑skinned bulbs are still flavorful. I mince them into herb‑butter blends, infuse oil, or dry and grind them into powder. Press garlic cloves into ice‑cube trays with olive oil and freeze for easy cooking.
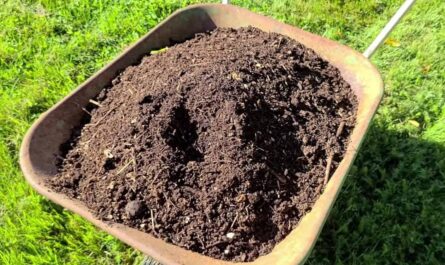
Building Soil for Next Year
After harvest, I don’t leave beds bare. I till in legumes like clover or alfalfa to build nitrogen and organic matter. If I use compost or aged manure, I apply it post-harvest so the soil regenerates through summer, priming it for next fall’s garlic.
Final Thought
Harvesting garlic at the right moment means more than just lifting bulbs from the ground; it’s about timing, attention, technique, and aftercare. When I tune into plant signals, seasonal cues, and post-harvest handling, I consistently get large, flavorful bulbs that last through winter.

My harvest plan is simple: track foliage, test bulbs, lift gently, cure properly, store correctly, and use deep notes in a garden journal. That’s how I turn well-grown garlic into a kitchen staple year after year.
FAQs
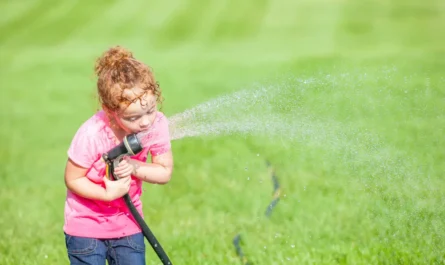
No, I stop watering about two weeks before I plan to harvest. That helps the soil dry, making bulbs easier to pull and reducing risk of rot. If rain is forecast just before harvest, I cover the bed temporarily, then harvest once it dries. Maintain storage around 60–65°F and moderate humidity (50–60%). Avoid refrigeration unless your house is extremely hot, fridge cold triggers sprouting. Dark, cool pantries or unheated cellars work best. I also sort bulbs by harvest week to rotate older ones first. For hardneck garlic, scapes form when bulbs begin enlarging. I always snap off scapes when they start curling. Removing them diverts energy into the bulb, sweetens the bulb meat, and scapes are a tasty harvest themselves (delicious sautéed or pickled). Properly cured and stored garlic lasts 6–9 months. Hardneck varieties trend toward 6–8 months, softnecks can reach 9 months. Shelf life depends on how clean, dry, and stable your storage conditions are. Loose or split bulbs should be used within a few weeks. Should I water garlic before harvest?
How can I prevent garlic from sprouting in storage?
What do I do if my garlic scapes form before I want to harvest?
How long does garlic last after harvest?