
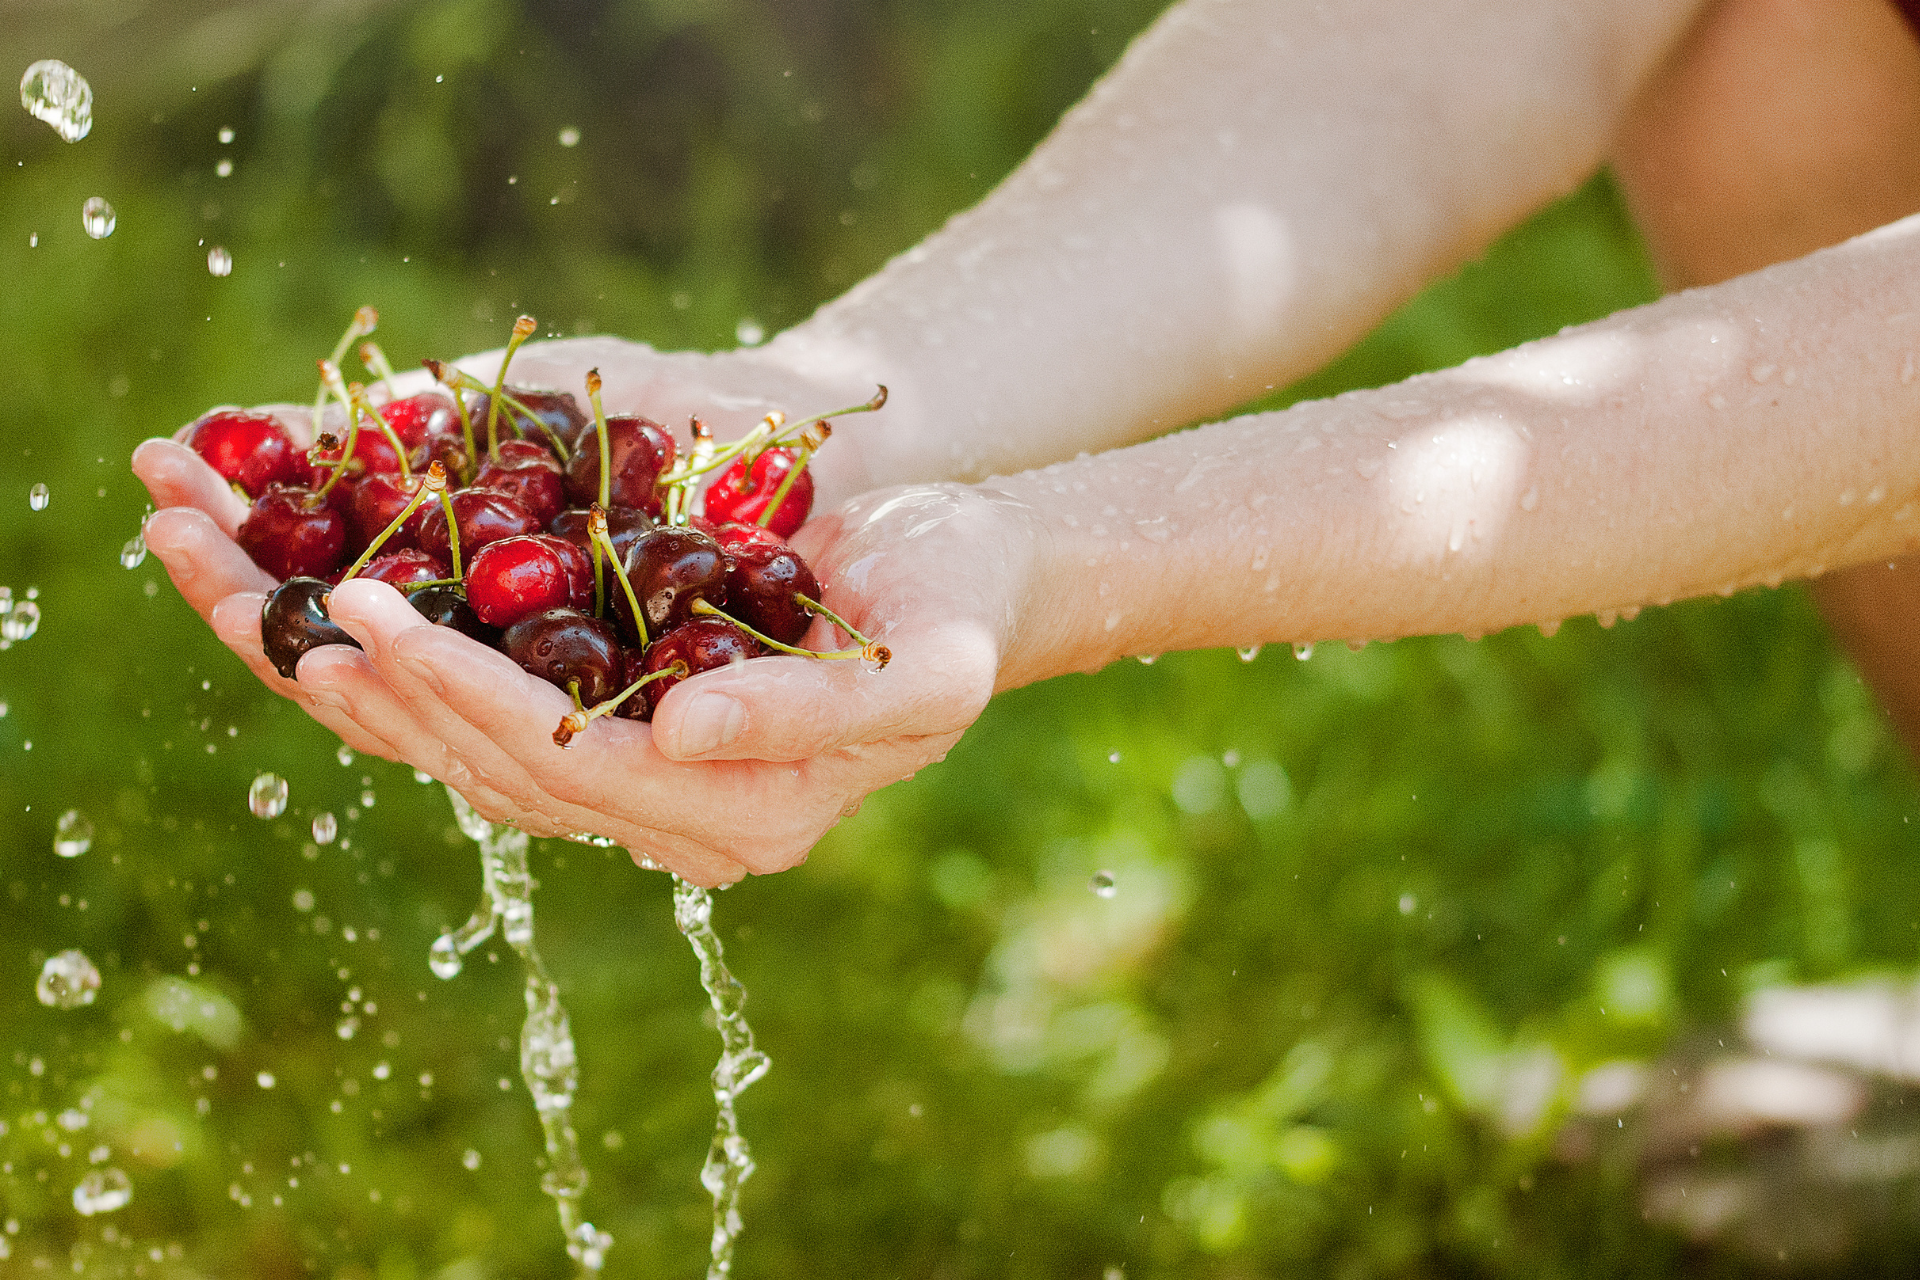
There’s nothing quite like a bowl of fresh cherries in the summertime. They’re sweet, vibrant, and addictively snackable. But before you pop one into your mouth, stop. As tempting as they look, cherries need to be washed properly, not just rinsed under the tap for a second, especially if you care about what’s really on the surface of your fruit.
As someone who has spent years studying food safety, produce handling, and fruit processing, I can tell you this: washing cherries isn’t optional. It’s a necessary step to protect your health and maximize the shelf life and taste of the fruit. Let me walk you through the how, why, and best practices for washing cherries the right way.
Why Washing Cherries Is Non-Negotiable
Cherries go through a lot before they reach your kitchen. From harvesting, sorting, and packaging to shipping and displaying on store shelves, they are exposed to numerous contaminants. Dirt, dust, pesticide residues, bacteria, and even mold spores can cling to their surface.
What’s worse, cherries are usually eaten raw. That means any contaminant sitting on them goes directly into your mouth unless you remove it. Washing is your first line of defense against foodborne pathogens like E. coli, Listeria, and Salmonella, all of which have been linked to outbreaks in fresh produce. And no, a quick rinse doesn’t always cut it.
Even organic cherries can carry pesticide residues, just because something is labeled “organic” doesn’t mean it’s chemical-free. Approved organic pesticides and fungicides still leave residue. Also, remember that birds, insects, and soil contact are all part of a cherry’s journey. That gorgeous shine on the fruit? That could be natural wax, or it could be residue. Either way, washing helps.

The Best Method: Cold Water Rinse Done Right
Let’s start with the basics. The simplest and most effective method for washing cherries is a cold water rinse. Use a colander to hold the cherries under running water and gently rub them with your hands to loosen dirt or residues. Swishing them around is key, just holding them under the tap doesn’t do much.
Keep the rinse brief, around 20 to 30 seconds. You don’t want the cherries sitting in water too long. They’re porous and can absorb water, making them soggy and dulling their flavor. Running water is much more effective than soaking when it comes to removing bacteria and chemical residues.
Never use soap, bleach, or produce sprays. The USDA strongly advises against these because they’re not meant for consumption and can linger even after rinsing. There’s a risk of ingesting harmful chemicals, and it’s just not worth it. Tap water alone, used properly, can remove most of what you don’t want to eat.
Also Read: 6 Foods That Help Combat Fatty Liver Disease According to Experts
For a Deeper Clean: Baking Soda or Vinegar Solution
If you want to go the extra mile, say you bought from a roadside stand, or you’re concerned about pesticide exposure, there’s a safe and effective way to do a deeper clean. I recommend using a baking soda solution: one teaspoon of baking soda mixed into two cups of water.
Let the cherries soak in this solution for no more than 10–15 minutes. Stir occasionally to make sure all the fruit gets exposed. After soaking, rinse the cherries thoroughly with cold running water to remove any remaining residue. Then pat them dry.

Alternatively, you can use a vinegar rinse, about one part white vinegar to three parts water. This can help kill some bacteria and reduce pesticide residues. However, vinegar can slightly affect the flavor if not rinsed well afterward. For taste-sensitive folks, stick with baking soda.
Don’t Wash Cherries Until You’re Ready To Eat Them
This is one of the most common mistakes people make. Washing cherries and then storing them introduces moisture into the storage container, moisture that molds love. Unless you plan to eat or cook them immediately, keep them dry and unwashed in the refrigerator.
Moisture speeds up spoilage. It causes soft spots, shriveling, and mold growth. If you absolutely must wash cherries ahead of time, for a picnic or meal prep, make sure you dry them thoroughly. I use a salad spinner lined with paper towels to wick away excess water, or I lay them flat on a clean towel and pat them dry gently.
Store dry cherries in a breathable container. I like using a bowl loosely covered with a paper towel or a produce bag with perforations. Skip airtight containers, they trap humidity and create a mold-friendly environment. Also, keep the stems attached; it helps slow down the spoilage process.
How to Spot Spoilage and Know When Cherries Are No Longer Safe
You’ve probably found forgotten cherries in the back of your fridge before and wondered if they were still okay to eat. Here’s how to check. First, do the touch test. Fresh cherries should be firm and smooth. If they feel mushy, wrinkled, or sticky, they’re likely past their prime.
Next, look for mold, white fuzz, or gray spots on the skin means the fruit has gone bad. And don’t ignore the smell. Cherries that have started to ferment will give off a sour or yeasty odor, like wine gone wrong. That’s a clear sign they’ve started breaking down and are unsafe to eat.
If only a couple of cherries in the batch are bad, discard them immediately. Mold spreads fast. Store the rest in a clean, dry container. But if the whole batch smells off or has leaked juice, it’s time to toss the lot. When in doubt, trust your senses.
Got Extra Cherries? Here’s How to Preserve Them
If you’ve stocked up during peak cherry season (and who can blame you?), freezing is a smart way to save them for later. First, wash and dry the cherries properly. Then decide whether to pit them or freeze them whole, either works, but pitted cherries are easier to use later.
Spread them in a single layer on a baking sheet and freeze until solid. Then transfer them to a freezer-safe bag or container. This keeps them from clumping and makes portioning easier. Properly stored, frozen cherries can last up to 12 months without losing flavor or texture.
You can also dry cherries in a food dehydrator or your oven at low heat. Or make cherry jam, compote, syrup, or preserves. These methods not only reduce food waste but also give you year-round access to the flavor of summer. Just remember, wash before preserving; dirt and bacteria don’t improve with age.

Final Thought
Washing cherries isn’t complicated, but it’s critical. A little care goes a long way in removing harmful residues and extending freshness. Whether you’re eating them raw, freezing them, or turning them into jam, clean cherries are safer and more delicious. Take the time to do it right, and enjoy every bite knowing you’ve handled your fruit like a pro.
FAQs
Can I use fruit and veggie wash to clean cherries?
Most commercial produce washes aren’t more effective than plain water and may leave behind residues of their own. I recommend sticking with cold water or a baking soda solution for a deeper clean.
How long can I store unwashed cherries in the fridge?
Unwashed cherries stored in a breathable container in the fridge can last 5–7 days. Keep them dry and cold, and avoid crowding them to reduce bruising and spoilage.
Is it better to pit cherries before or after washing?
Always wash cherries before pitting. Pitting can open up the flesh and make it easier for water and any contaminants to soak in. Clean them whole, then pit as needed.
Do frozen cherries need to be washed again after thawing?
No. If you washed them before freezing, they’re ready to use straight from the freezer. If you didn’t, rinse them under cold water before using, especially if you plan to eat them raw.
What’s the safest way to pack washed cherries for lunch or travel?
After washing and drying them thoroughly, pack cherries in a breathable container or zip-top bag with a paper towel to absorb moisture. Keep them chilled if possible, and eat them within the day.