With a walipini greenhouse, growing fresh food year-round can be made possible, especially if you live where winters are brutal or summers are scorching. For many gardeners, maintaining consistent crops through all seasons feels impossible.
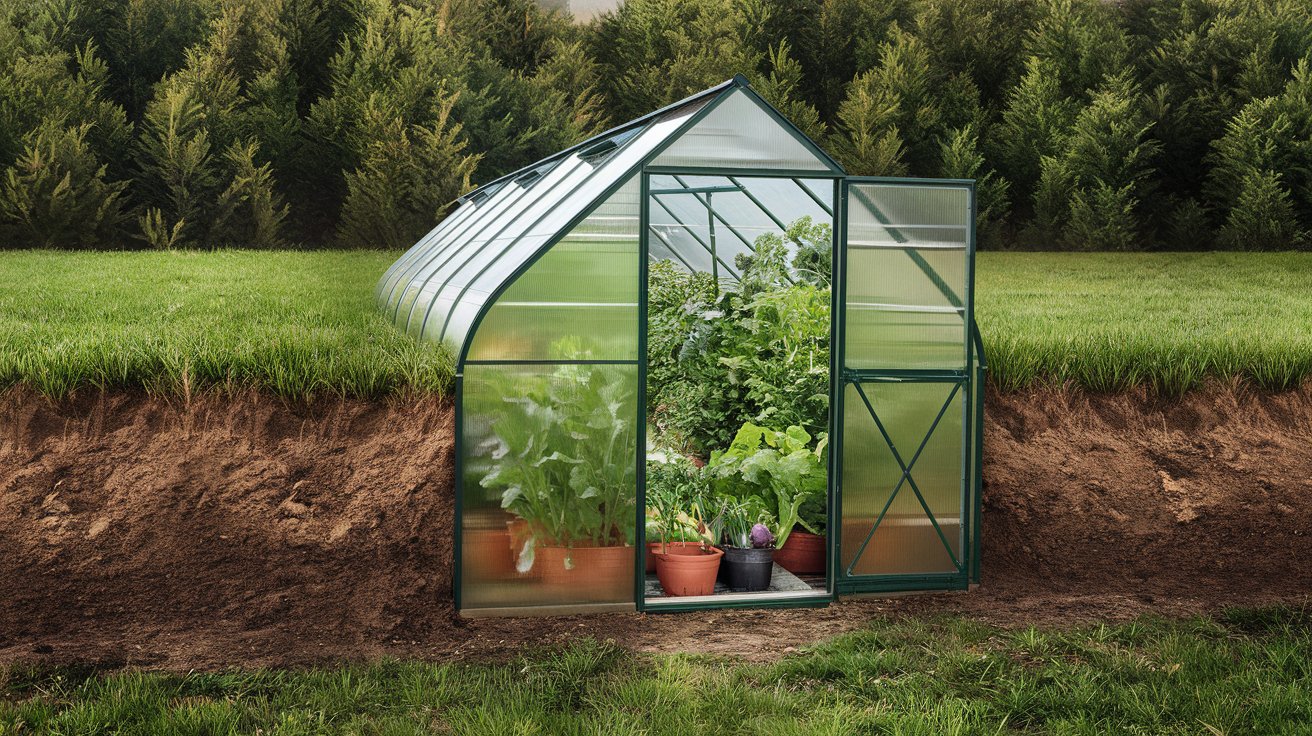
A Walipini, or underground greenhouse, is a smart, low-cost, and energy-efficient structure that lets you grow vegetables and herbs all year, even when it’s snowing outside. If you’re looking for greenhouse ideas that work in real-world climates and don’t cost a fortune, a Walipini might be your perfect solution.
What is a Walipini Greenhouse?
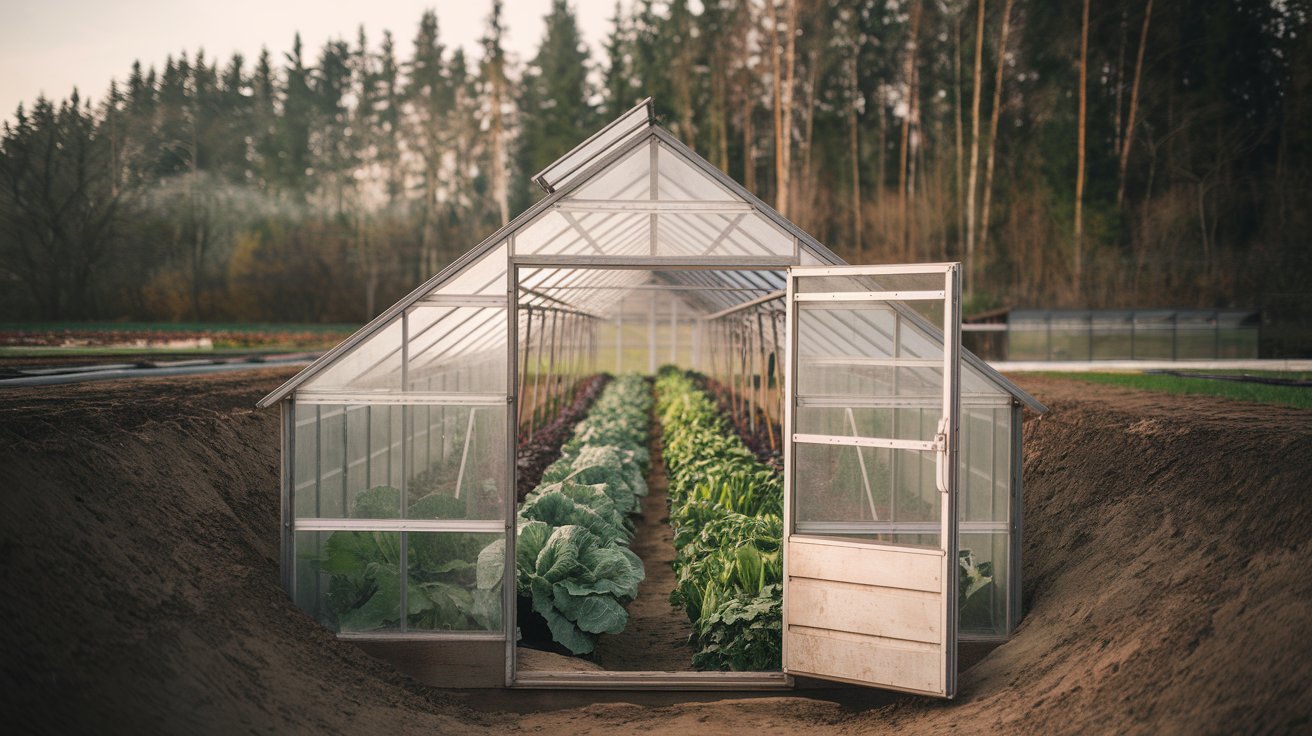
The word Walipini comes from the Aymara language in the Andes and means “place of warmth.” It lives up to the name. This style of greenhouse is dug into the ground, using the earth’s natural thermal mass to stay warm in winter and cool in summer.
Also known as a sunken greenhouse, pit greenhouse, or earth-sheltered greenhouse, a Walipini leverages passive solar heating and ground insulation. The result? A controlled microclimate that requires little to no artificial heating or cooling, unlike many above-ground BC greenhouses that struggle in extreme weather.
Why Build a Walipini Greenhouse?
1. Year-Round Growing Power
A Walipini keeps internal temperatures stable, allowing you to grow leafy greens in January and tomatoes in July, without switching growing structures.
2. Energy Efficiency
Because the greenhouse is underground, it naturally regulates heat. You won’t need heaters in the winter or fans in the summer. Less energy, lower bills.
3. Low Maintenance
Most greenhouses need constant upkeep—roof panel replacements, structural support during storms, etc. A Walipini, built properly, requires far less maintenance.
4. Wind & Weather Resistant
Traditional greenhouses often take a beating from wind, snow, and storms. A sunken greenhouse is protected from nearly all of that.
5. Cost-Effective
If you can dig it yourself and use local materials, building a Walipini can be significantly cheaper than ordering a prefab greenhouse kit.
Important Considerations Before You Build
1. Site Selection
The location of your Walipini is key to its success. Keep this in mind:
- Sunlight: Face the long side of the structure south (in the Northern Hemisphere) to catch as much sun as possible.
- Slope: A slight slope helps with natural drainage.
- Shadows: Avoid trees or buildings that might block light, especially in winter when the sun is lower.
2. Soil and Water Flow
The type of soil you dig into affects both safety and durability:
- Clay soil holds water—great for crops but risky for structure unless well-engineered.
- Sandy soil drains well but needs reinforcement.
- Loam is ideal, but still needs drainage planning.
Use a non-permeable membrane (like pond liner or thick plastic sheeting) around your walls and berms to prevent rain seepage.

Also, check your water table. A Walipini should be at least 5 feet above the water table to avoid flooding.
3. Structural and Legal Considerations
- Permits: In some areas, you might need building approval. Check with your local authorities.
- Radon Gas: Like basements, Walipinis can trap radon. Test your soil before you dig.
- Wall Strength: Reinforce the walls with concrete, bricks, or retaining walls. This isn’t optional—safety matters.
Planning Your Walipini Greenhouse
1. Choosing the Right Size and Depth
- Standard Size: 10 feet wide by 20 feet long is a good family size.
- Depth: 6 to 8 feet deep provides enough insulation for year-round temperature control.
- Scale up or down based on your growing goals and space.
2. Materials Needed
Here’s what you’ll likely need:
- Excavation Tools: Shovels, pickaxes, or rent an excavator.
- Retaining Walls: Concrete blocks, bricks, large stones.
- Roof Materials: Greenhouse plastic, polycarbonate sheets, or reclaimed windows.
- Structural Supports: Wood or metal beams.
- Drainage: Gravel, drainage pipes, or sump pump (if necessary).
- Ventilation: Adjustable roof or side vents.
- Access: A stairwell, ramp, or hatch.
Step-by-Step: How to Build a Walipini Greenhouse
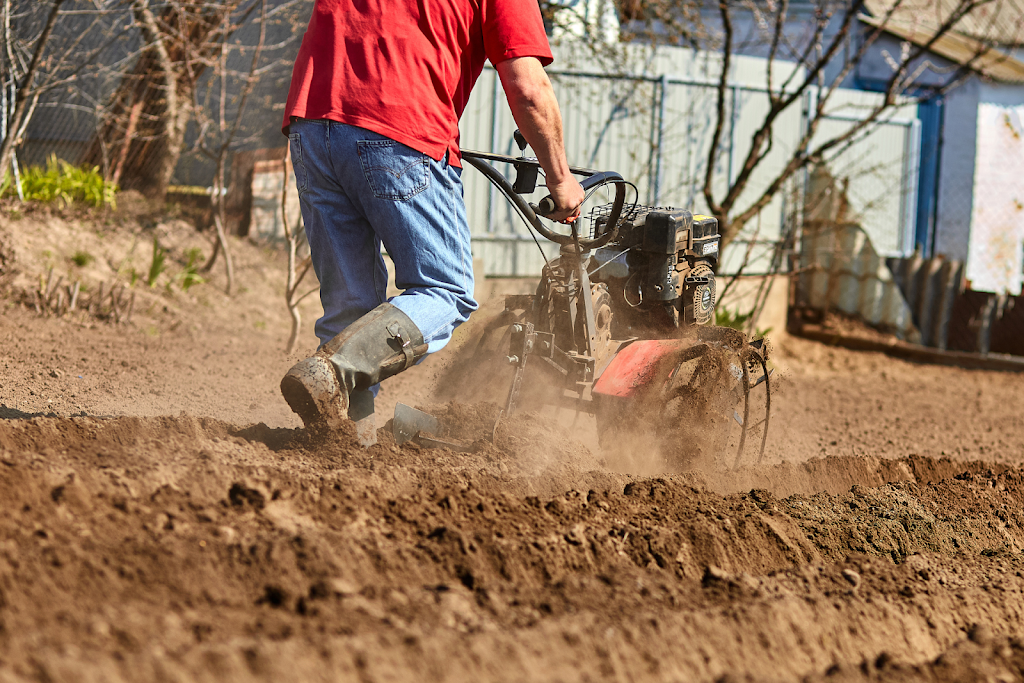
1. Excavation and Ground Prep
Dig a rectangular pit, 6–8 feet deep. Make the north wall taller than the south wall to create a slope for your roof.
Tips:
- Use the removed soil to berm the back (north) wall.
- Slope the floor slightly for drainage.
2. Build Retaining Walls
Line the interior walls with stone, brick, or concrete. If you’re in a cold climate, add insulation like foam board or straw bales.
Don’t skip reinforcement—underground walls carry pressure from the surrounding earth and moisture.
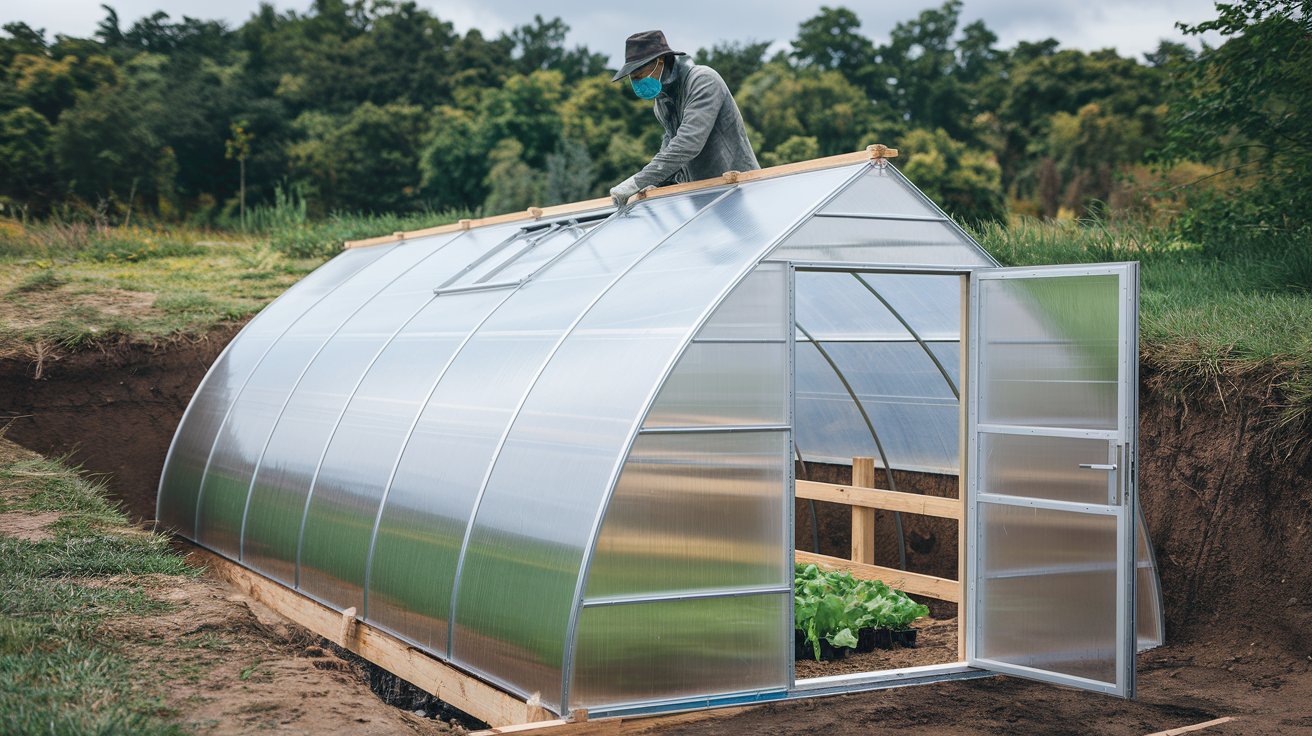
3. Construct the Roof Frame
Use wood or metal beams spaced evenly. The roof should slope toward the sun (typically south) at a 30–45° angle.
This angle optimizes winter sun exposure and allows rain or snow to slide off.
4. Install the Transparent Roof
Cover the frame with greenhouse-grade plastic, polycarbonate panels, or glass. Secure it tightly. Seal gaps with weatherproof tape or caulking.
Pro tip: Consider a double-layer plastic design with air insulation between layers.
5. Set Up Drainage
Use gravel layers at the base, with French drains or PVC pipe systems directing water away from the structure.
If you’re in a flood-prone area, install a sump pump.

6. Ventilation and Access
- Roof vents allow hot air to escape.
- Solar fans can draw in cooler air.
- Install a door with insulation. For small builds, a vertical hatch and ladder may work. For larger setups, a side stairwell is best.
Design Add-ons and Smart Greenhouse Ideas
1. Temperature Regulation
Use thermal mass—dark stones, large water barrels, even black-painted jugs of water. These absorb heat during the day and release it at night, helping regulate temperatures naturally.
2. Layout and Growing Beds
You can either:
- Use the floor for in-ground planting
- Build raised beds (which are easier to manage and heat)
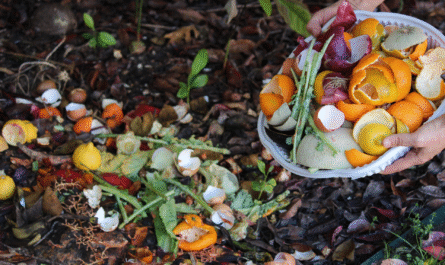
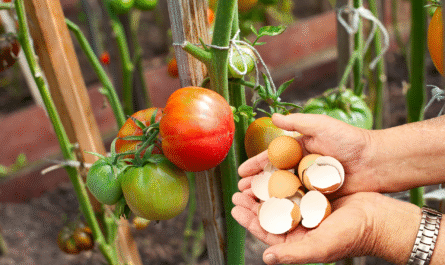
Bring in topsoil, compost, and worm castings. The deeper and richer the soil, the better your results.
3. Optional Features
- Aquaponics or hydroponics systems (perfect for an enclosed climate)
- Rainwater collection from the roof, stored in tanks
- Solar-powered lights or heating mats, if you want to extend growing even further
Tips for Year-Round Gardening in a Walipini
- Ventilation matters. Don’t let humidity get out of control.
- Mulch heavily in winter months to preserve heat and moisture.
- Use a thermometer and hygrometer to monitor conditions.
- Add compost regularly to maintain soil nutrients.
- Rotate crops and diversify to avoid pests and disease buildup.
What Can You Grow in a Walipini Greenhouse?
The beauty of a Walipini is that it supports crops year-round, including:
1. Leafy Greens
- Spinach
- Kale
- Swiss chard
- Lettuce
2. Root Veggies
- Carrots
-
Radishes
-
Beets
-
Turnips
3. Herbs
-
Basil
-
Cilantro
-
Parsley
-
Chives

4. Fruiting Plants
-
Tomatoes
-
Peppers
-
Cucumbers
-
Eggplant
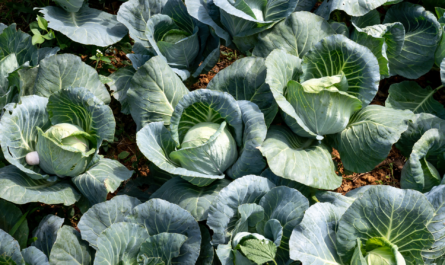
5. Cold-Hardy Crops
-
Broccoli
-
Cabbage
-
Brussels sprouts
Create a seasonal planting calendar so your Walipini stays productive 12 months a year.
Common Mistakes to Avoid
- Poor drainage: Water buildup will destroy plants and your structure.
-
Wrong orientation: South-facing exposure is a must in the Northern Hemisphere.
-
Inadequate insulation: Earth helps, but walls and roofs need support.
-
Neglecting venting: Even underground, greenhouses can overheat and get moldy.
Cost Breakdown and Budget Tips
Here’s a ballpark estimate for a DIY 10×20 Walipini:

Item Estimated Cost Excavation (DIY or rental) $200–$500 Retaining wall materials $300–$600 Roof frame & covering $250–$500 Vents & door $100–$200 Gravel & drainage $100–$300 Total Estimate $950–$2,100
Money-Saving Tips:
-
Use recycled windows or greenhouse panels.
-
Source local stone or bricks.
-
Consider community tool rentals instead of buying equipment.
Is a Walipini Greenhouse Worth It?
If you want a productive, low-cost, low-energy way to grow your food, a Walipini greenhouse is one of the smartest designs out there. It’s more work upfront than a traditional greenhouse, but the payoff in savings, stability, and productivity is worth every shovel of dirt.
For those in cold climates, windy zones, or remote areas without easy power access, the Walipini is more than just a greenhouse—it’s a path to food independence.
Ready to build your underground garden? Start planning today. The Earth will do most of the hard work for you.